Setting up screen time rules on Safe Surfer is easy. This guide will efficiently walk you through how to do so.
Pro tip: you can find the latest version of this guide on our help desk by clicking this link.
Each section below assumes that Safe Surfer is already being used on the device that you would like to set screen time rules on. If you would like to protect a device with Safe Surfer, visit our Guides page. We will demonstrate some example screen time scenarios below.
Visit the Safe Surfer dashboard. On the left-hand sidebar, click the “Screentime” drop-down menu, then click the Timetables menu.
Timetables
Timetables is a quick and simple way to automate screen time rules. This feature works on a “layer” model. The internet blocking layer is always available at the bottom. You can add layers to allow or disallow content in conjunction with all other blocking and screen time rules.
In this example, we will block internet during the night (from 9:00 pm till 5:00 am) on all days. Once you have selected a device from the blue drop-down bubble, click the “Block internet” button.
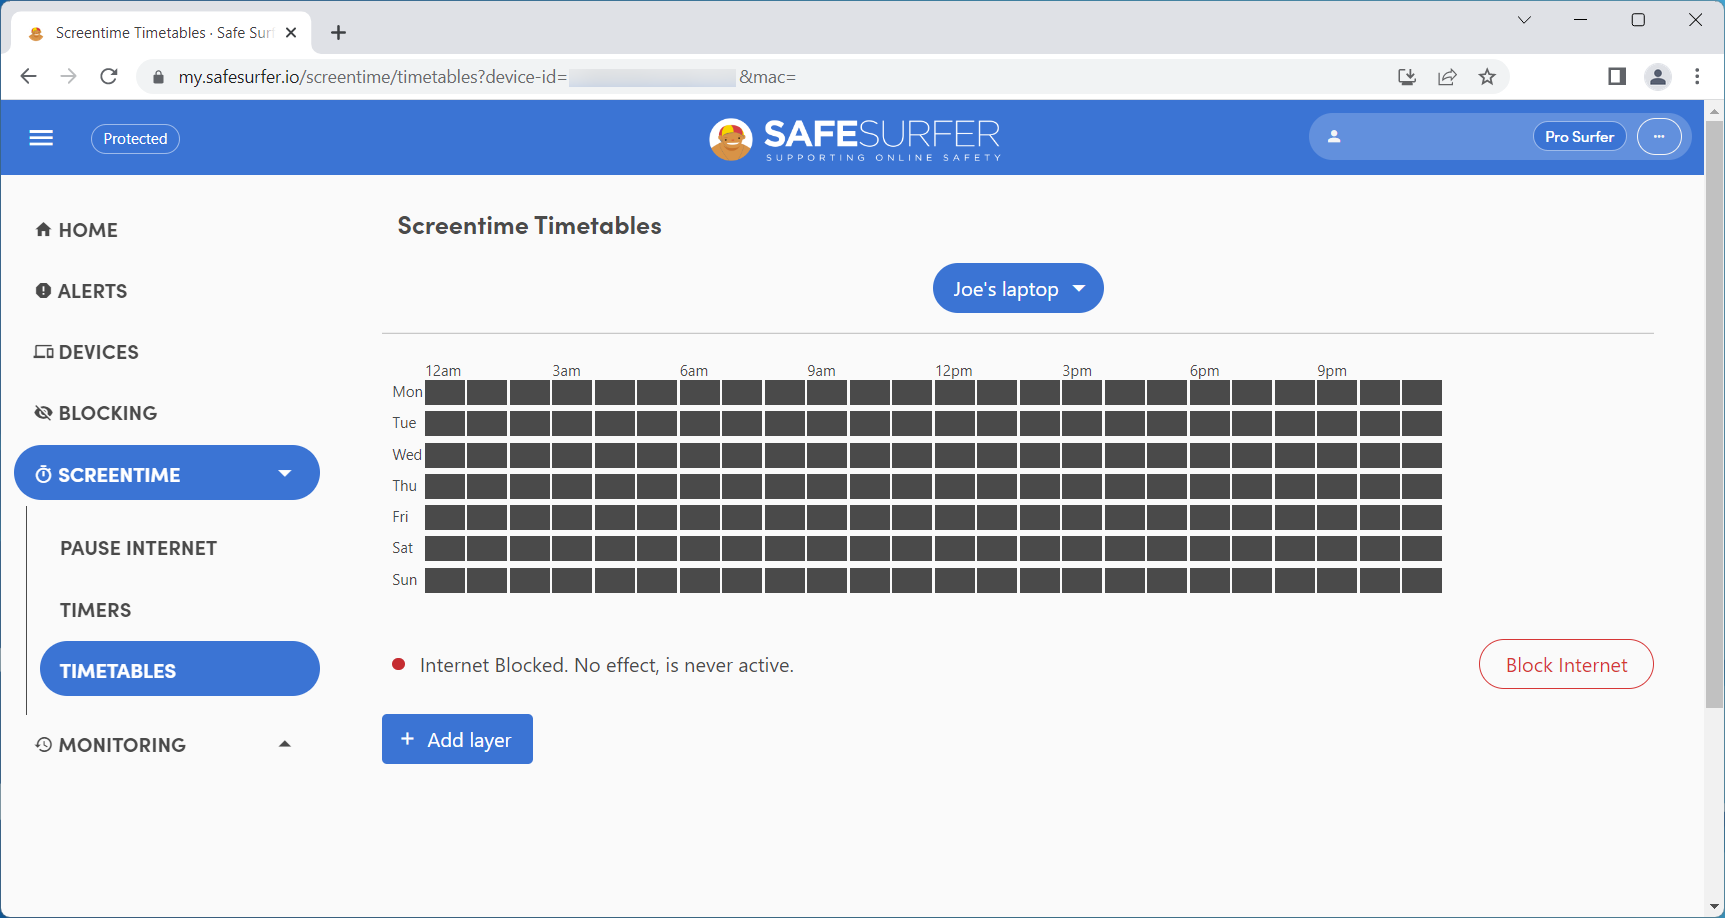
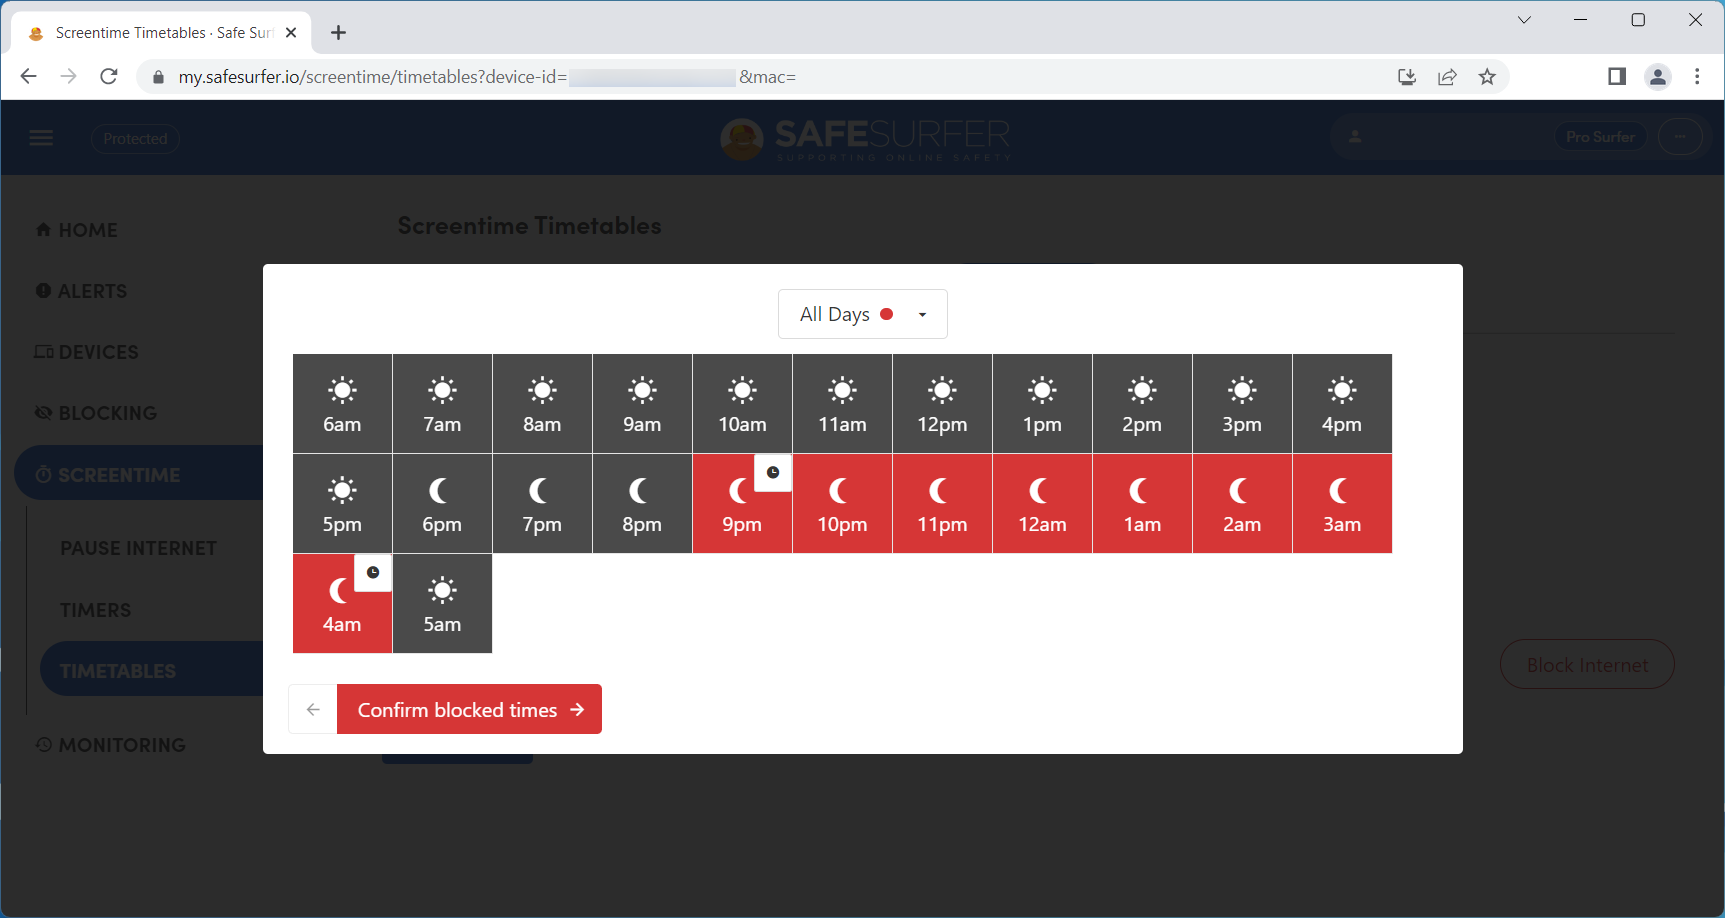
Each tile represents an hour—for example, the 9:00 pm tile represents 09:00:00 till 09:59:59. Select (by clicking or dragging the tiles) 9:00 am to 5:00 pm on “All days”. Click the “Confirm blocked times” button.
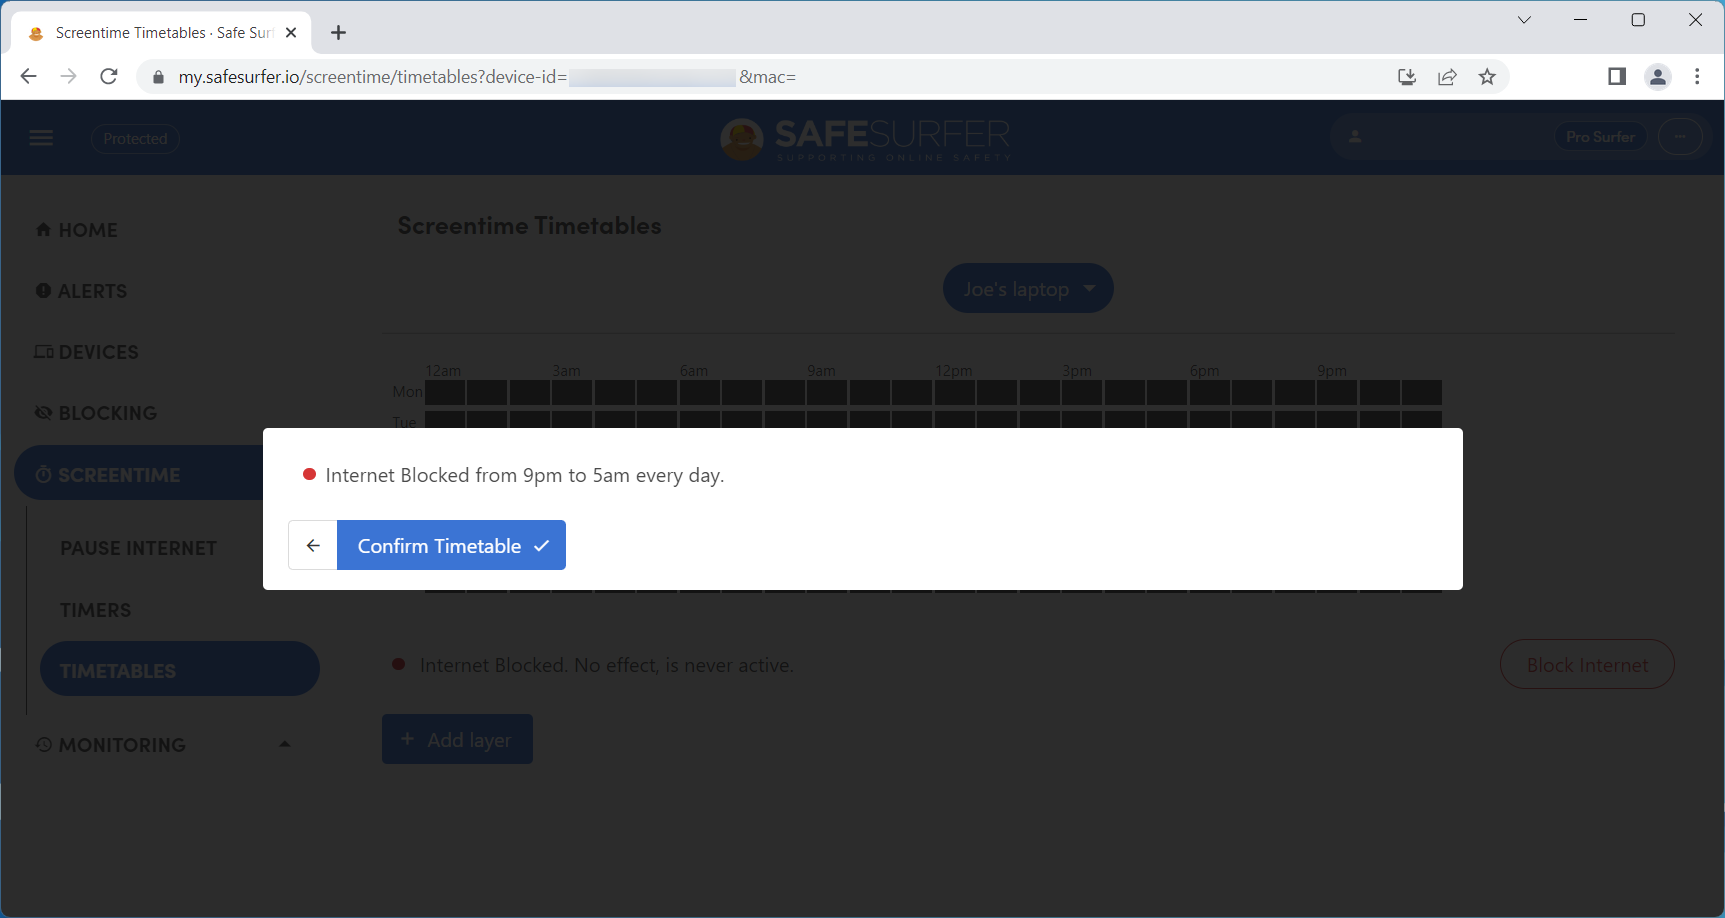
Click the “Confirm timetable” button.
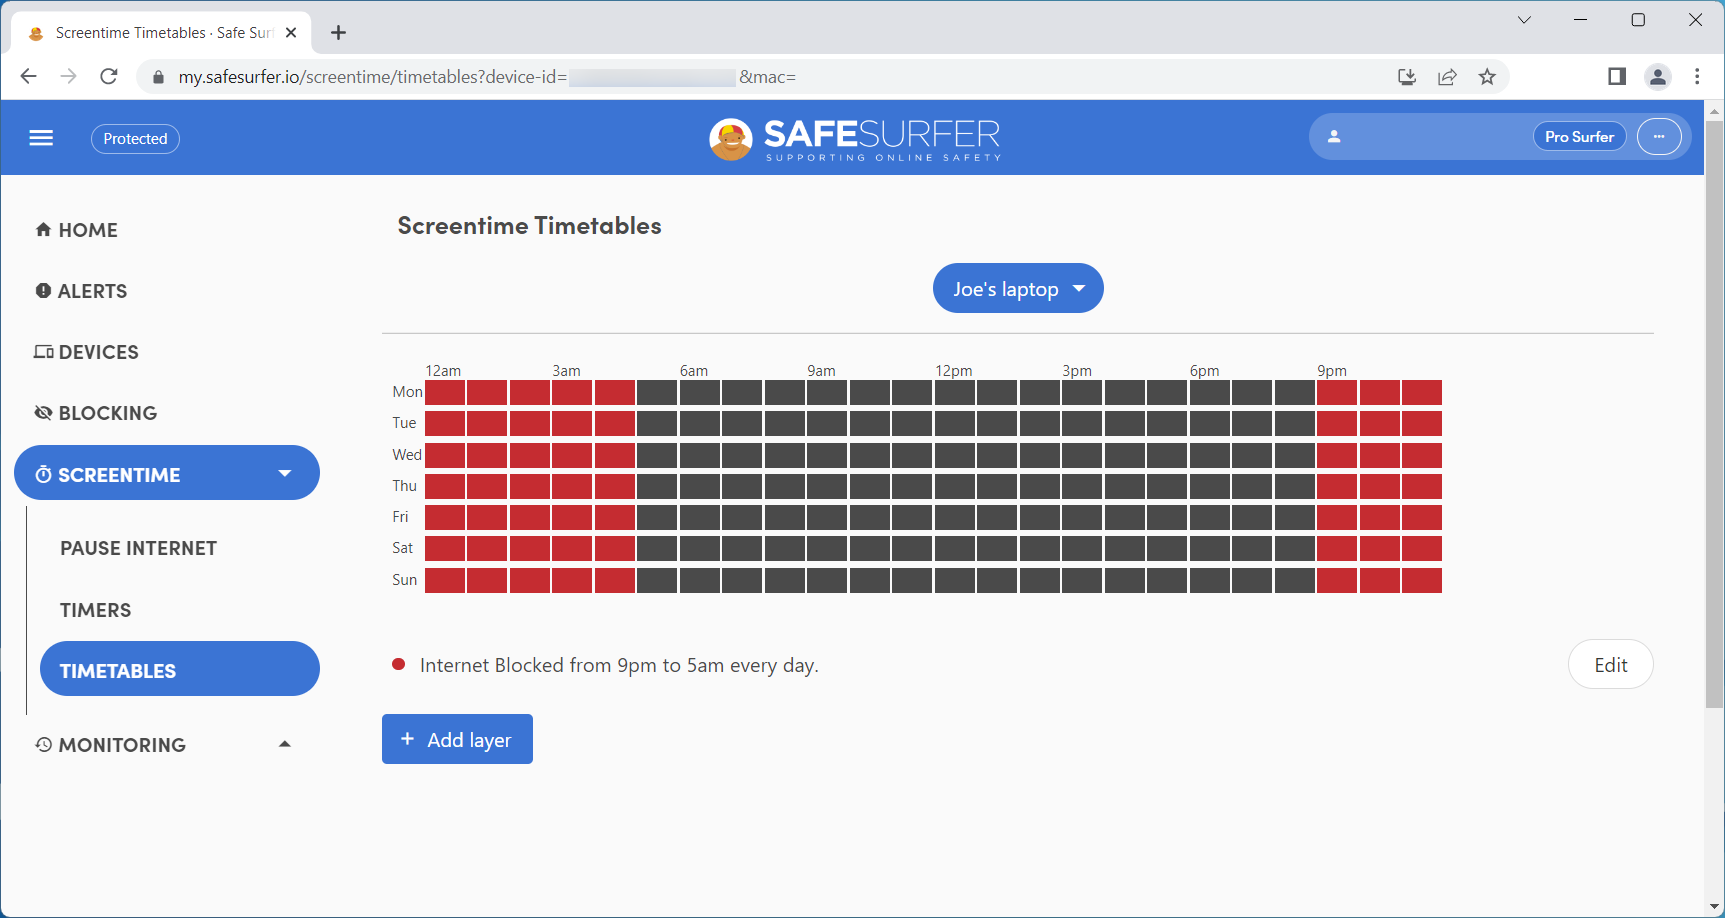
The first set of timetable rules have now been applied. Next we will block social media during typical school hours on weekdays. Click the “+ Add layer” button.
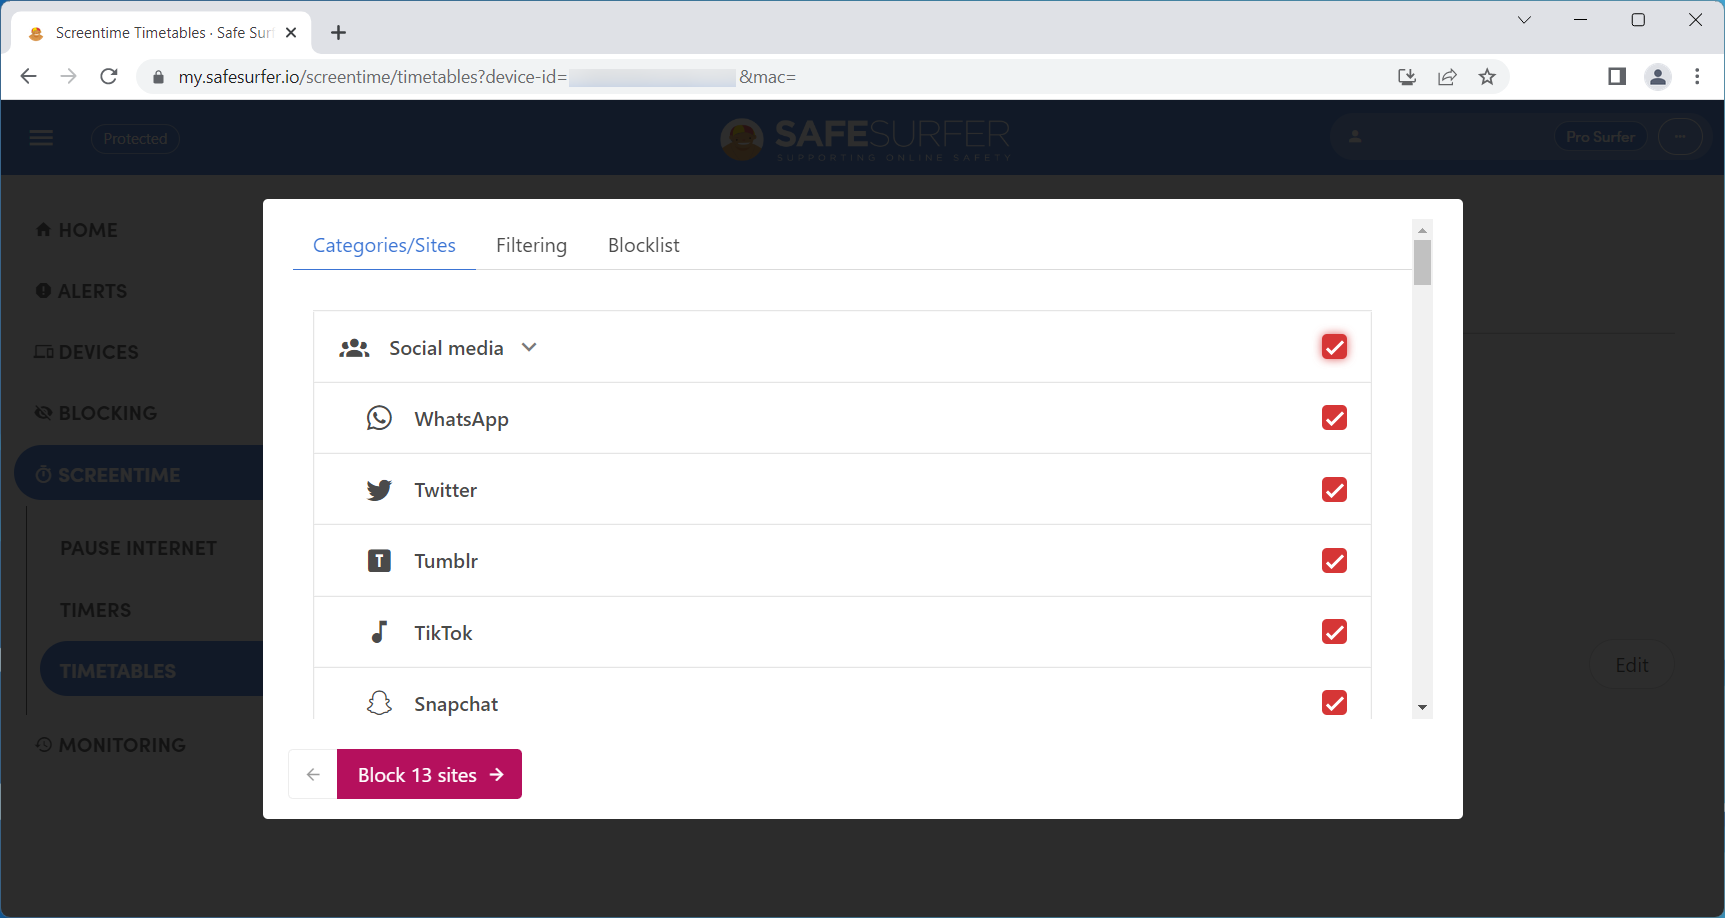
Select the “Social media” parent category. Click the “Block [number of] sites” button.
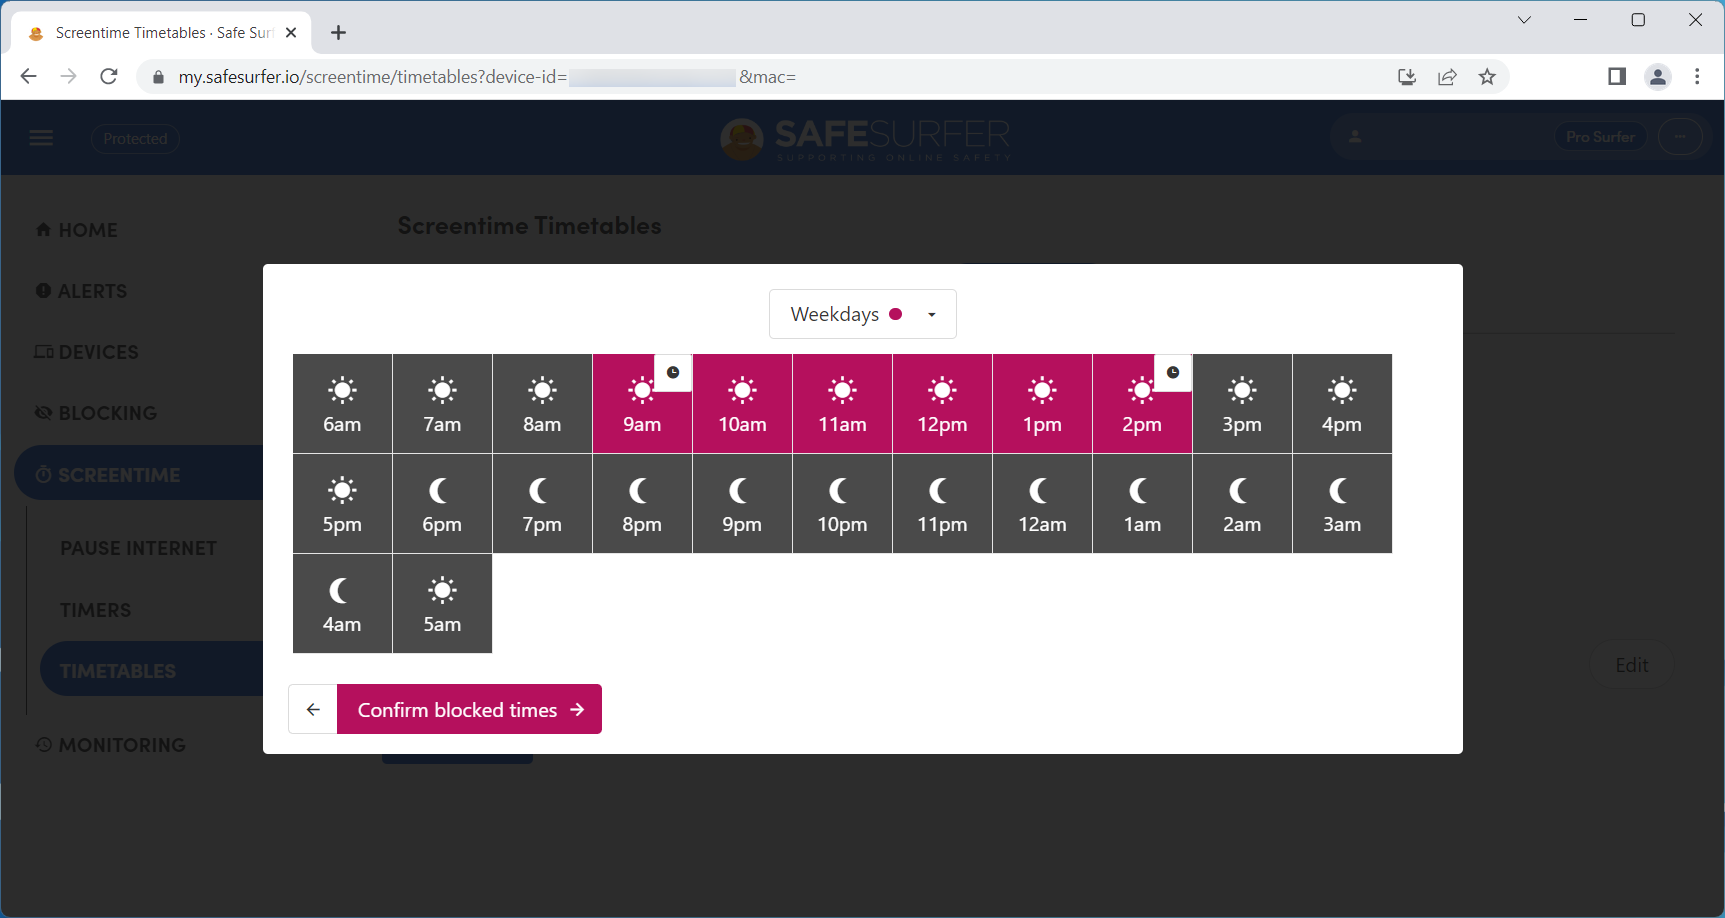
Select 9:00 am to 3:00 pm on weekdays. Click the “Confirm blocked times” button.
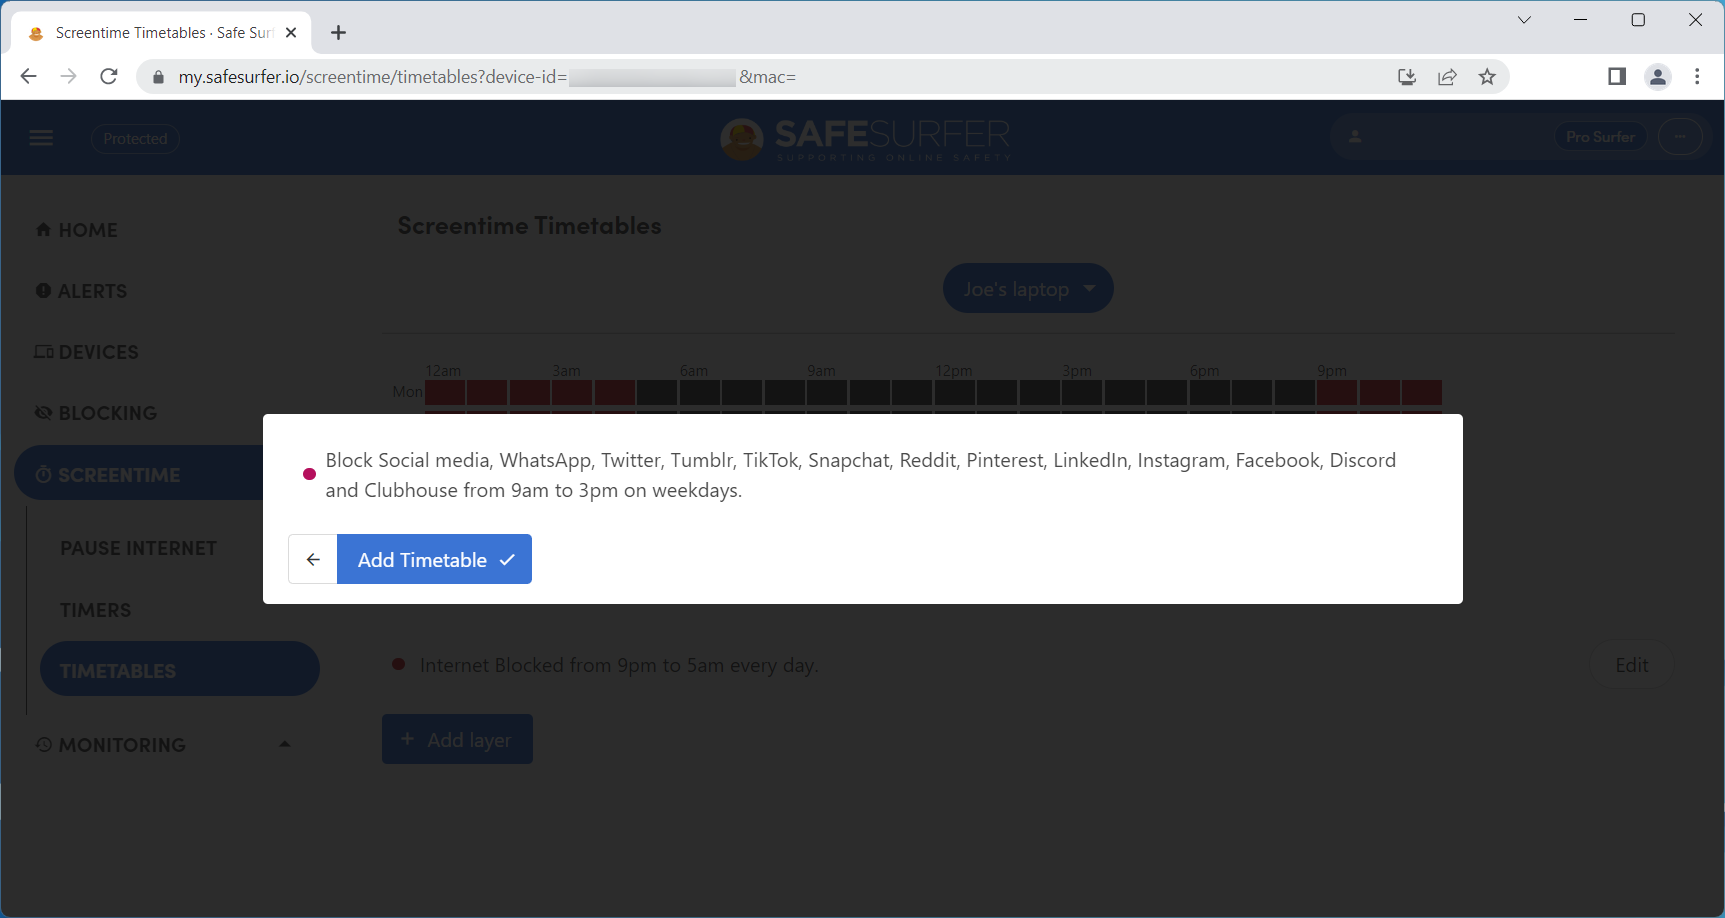
Click the “Add timetable” button.
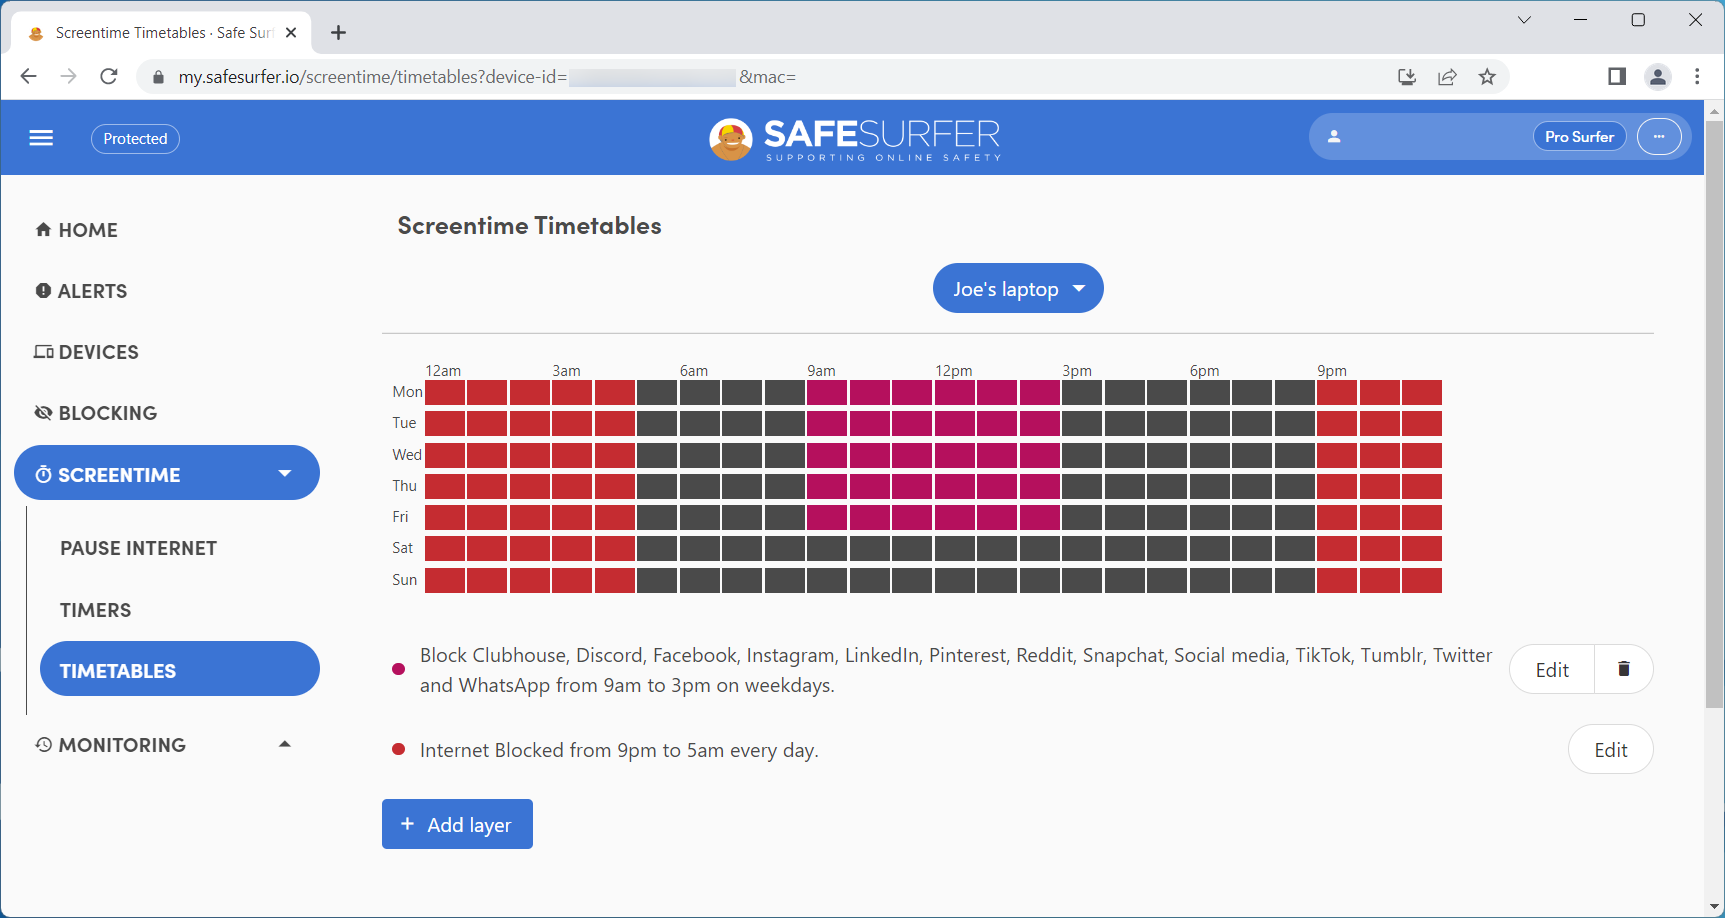
We have now finished applying timetable rules for this device. The “social media” layer can be edited or deleted by clicking its respective buttons (as shown below). In the next section, we will take a look at the Pause Internet feature. Click the “Pause internet” menu.
Pause internet
The “Pause internet” feature allows you to block or allow specific content for a defined period of time.
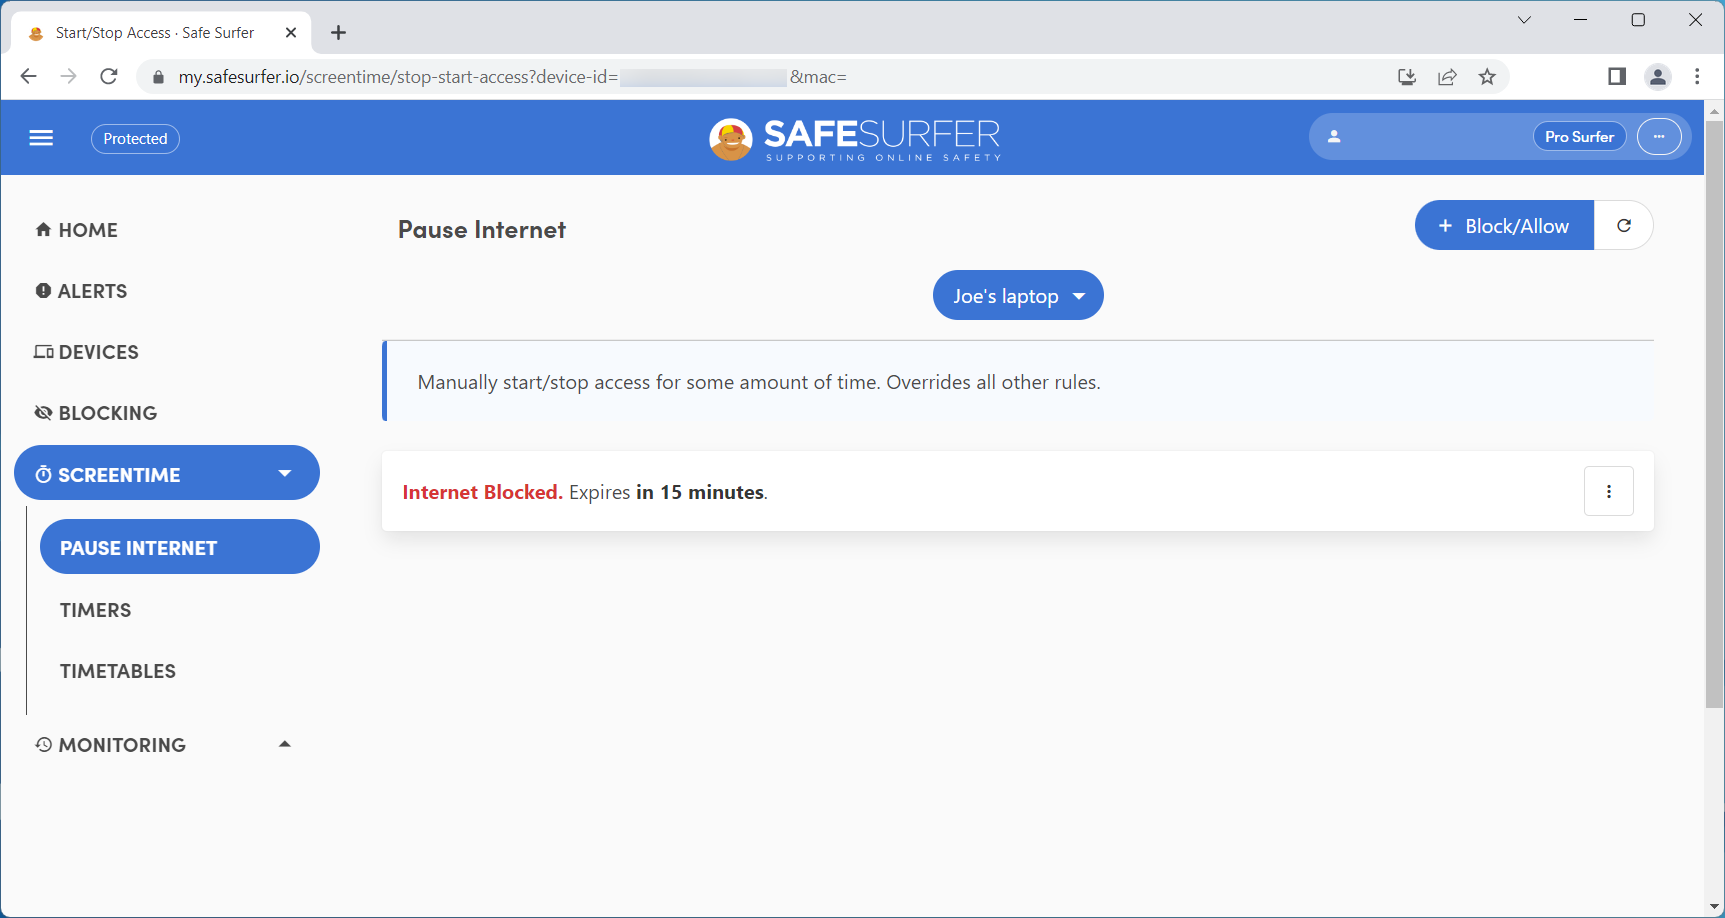
In this example, we will block internet for the next 15 minutes. Once you have selected a device, click the “+ Block / Allow” button.
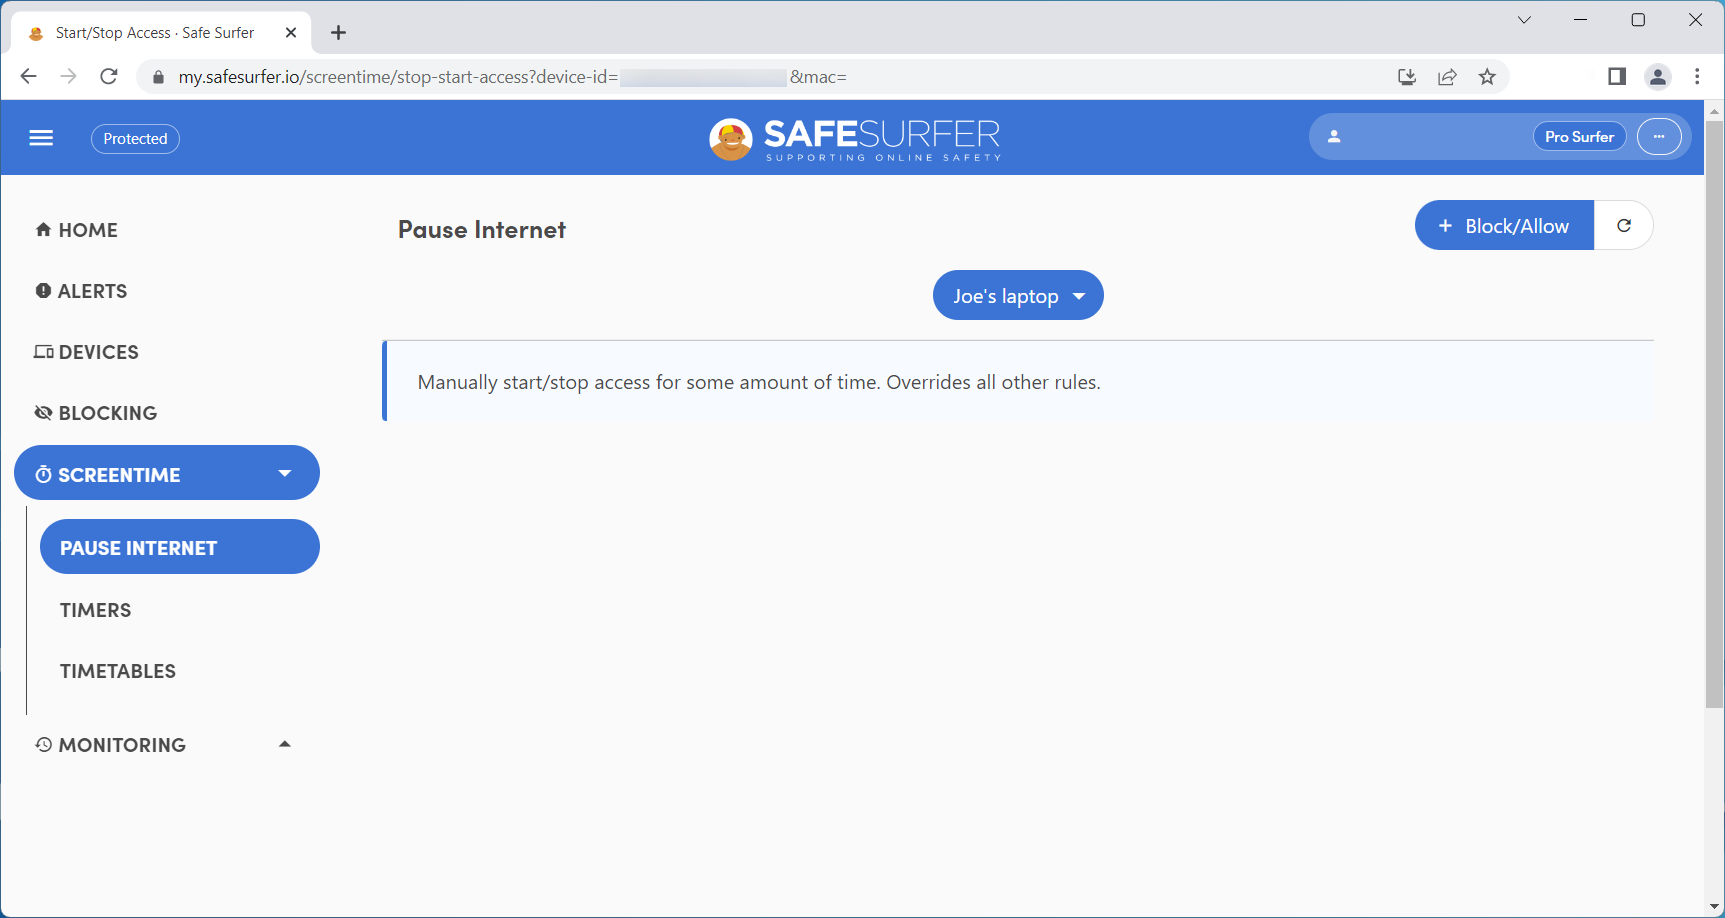
Select the “Block internet” option.
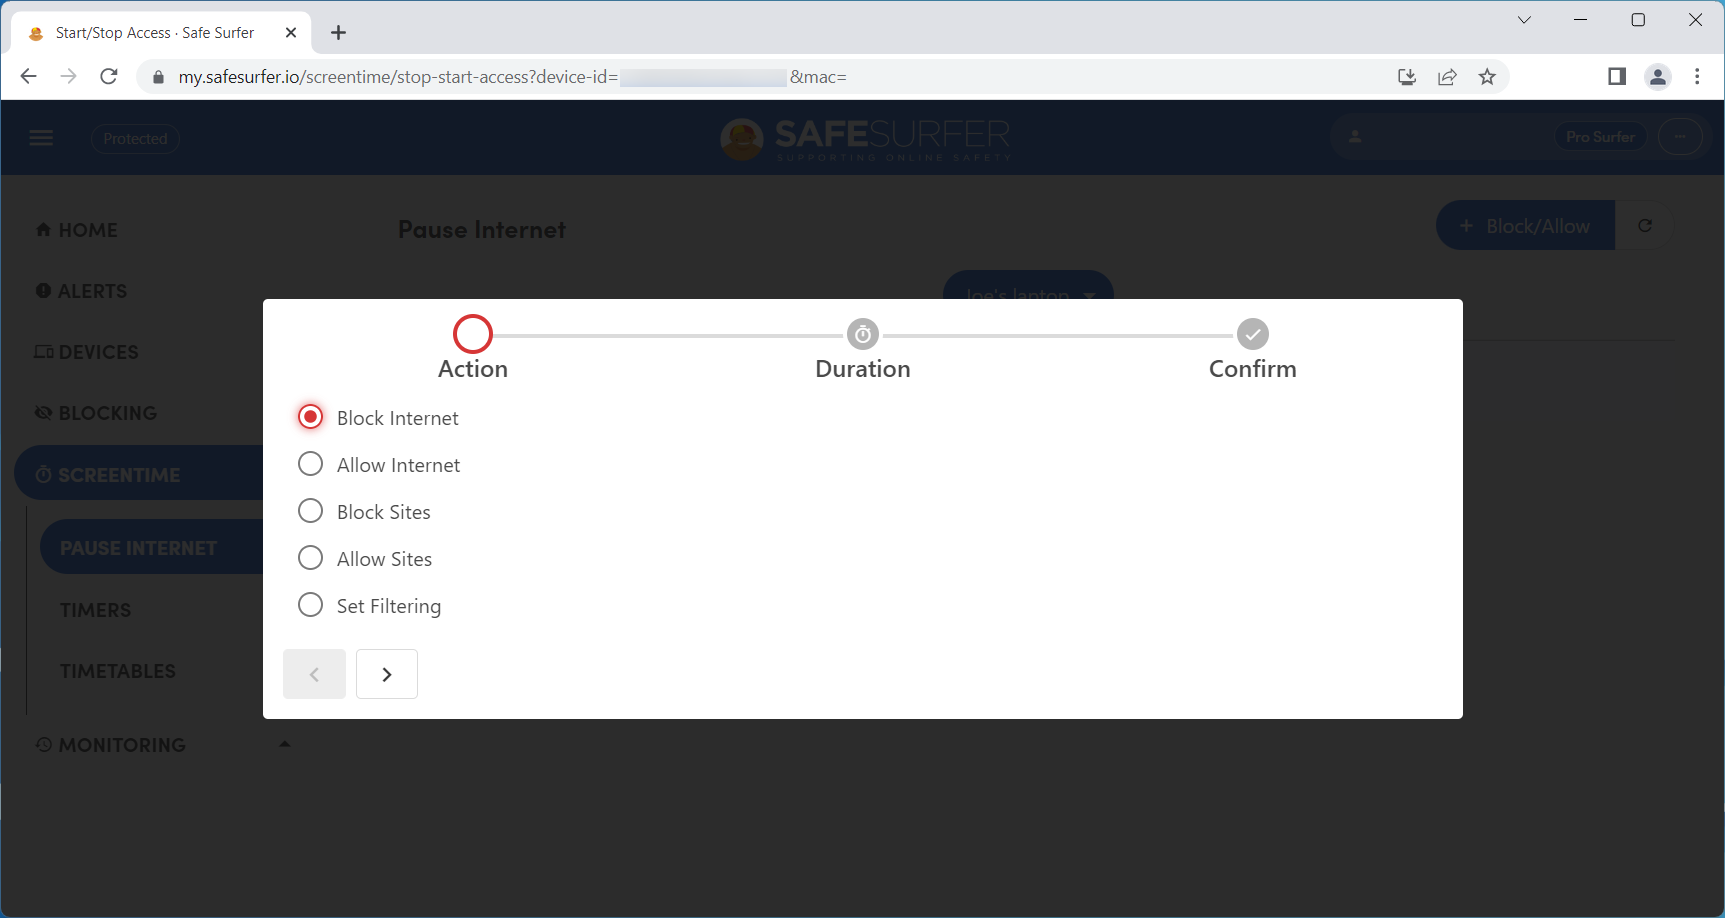
Click the drop-down box and select “15 minutes”, then click the right-arrow button.
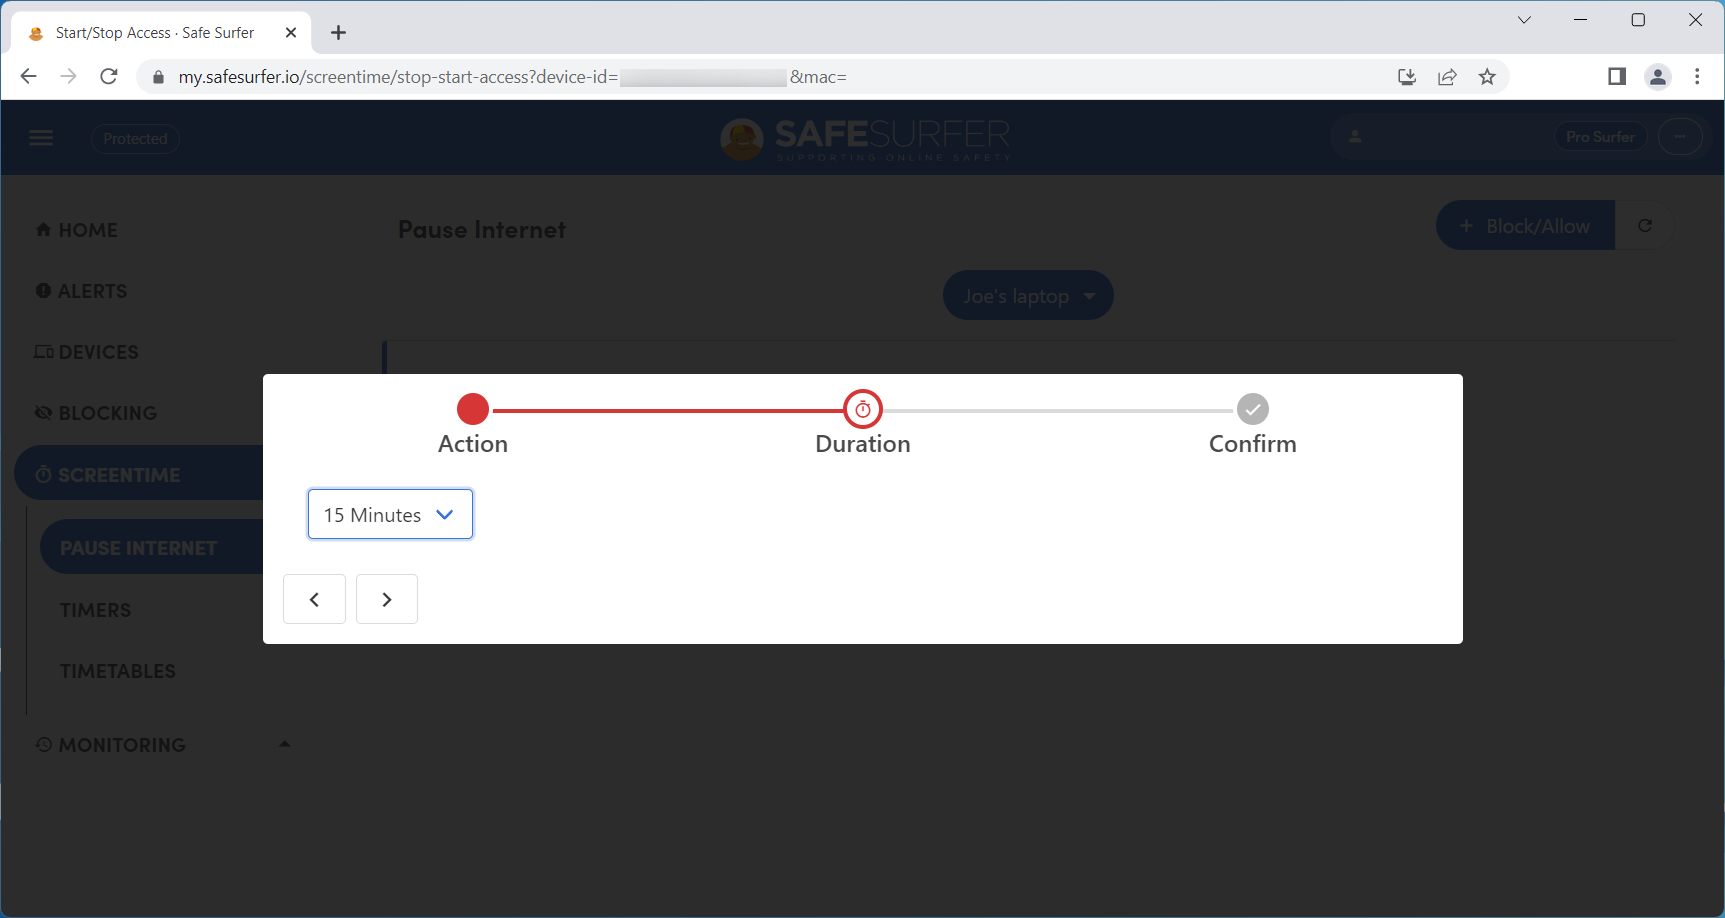
Click the “Confirm” button.
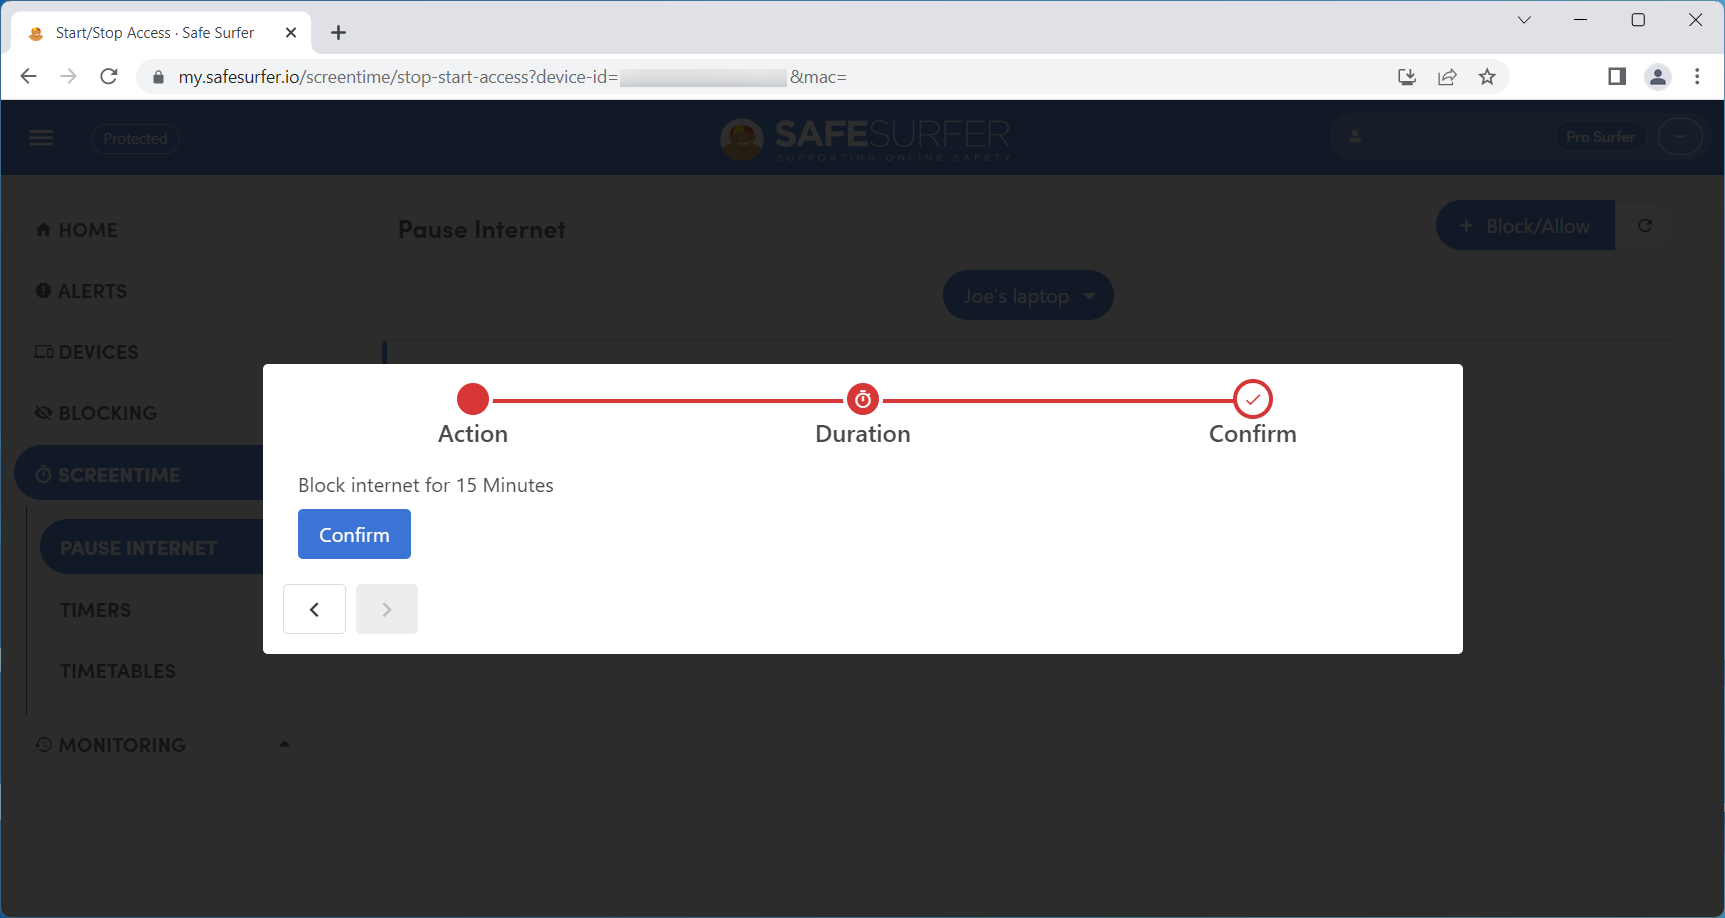
We have now blocked internet for the next 15 minutes on this device. You can immediately remove this rule by clicking the thee-dot button on the time expiry listing. In the next section, we will take a look at the Timers feature. Click the Timers menu.
Timers
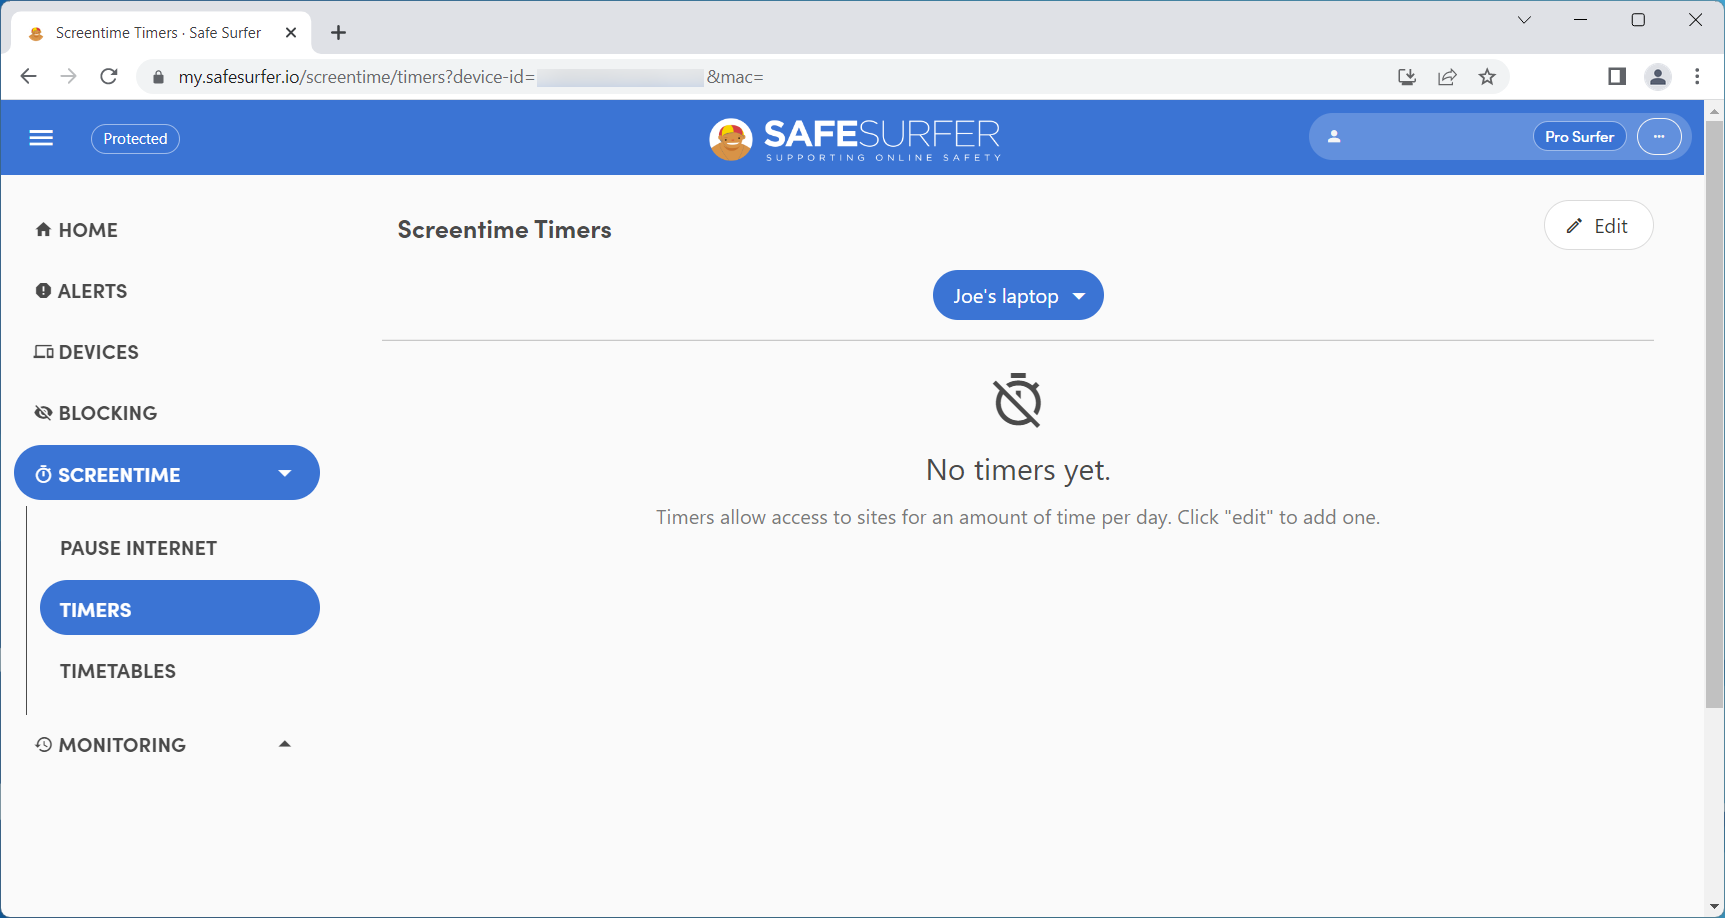
The Timers feature allows you to set a stop/start internet time limit for a device.
In this example, we will allocate a two hour block of internet “on” time for this device. Once you have selected a device, click the Edit button.
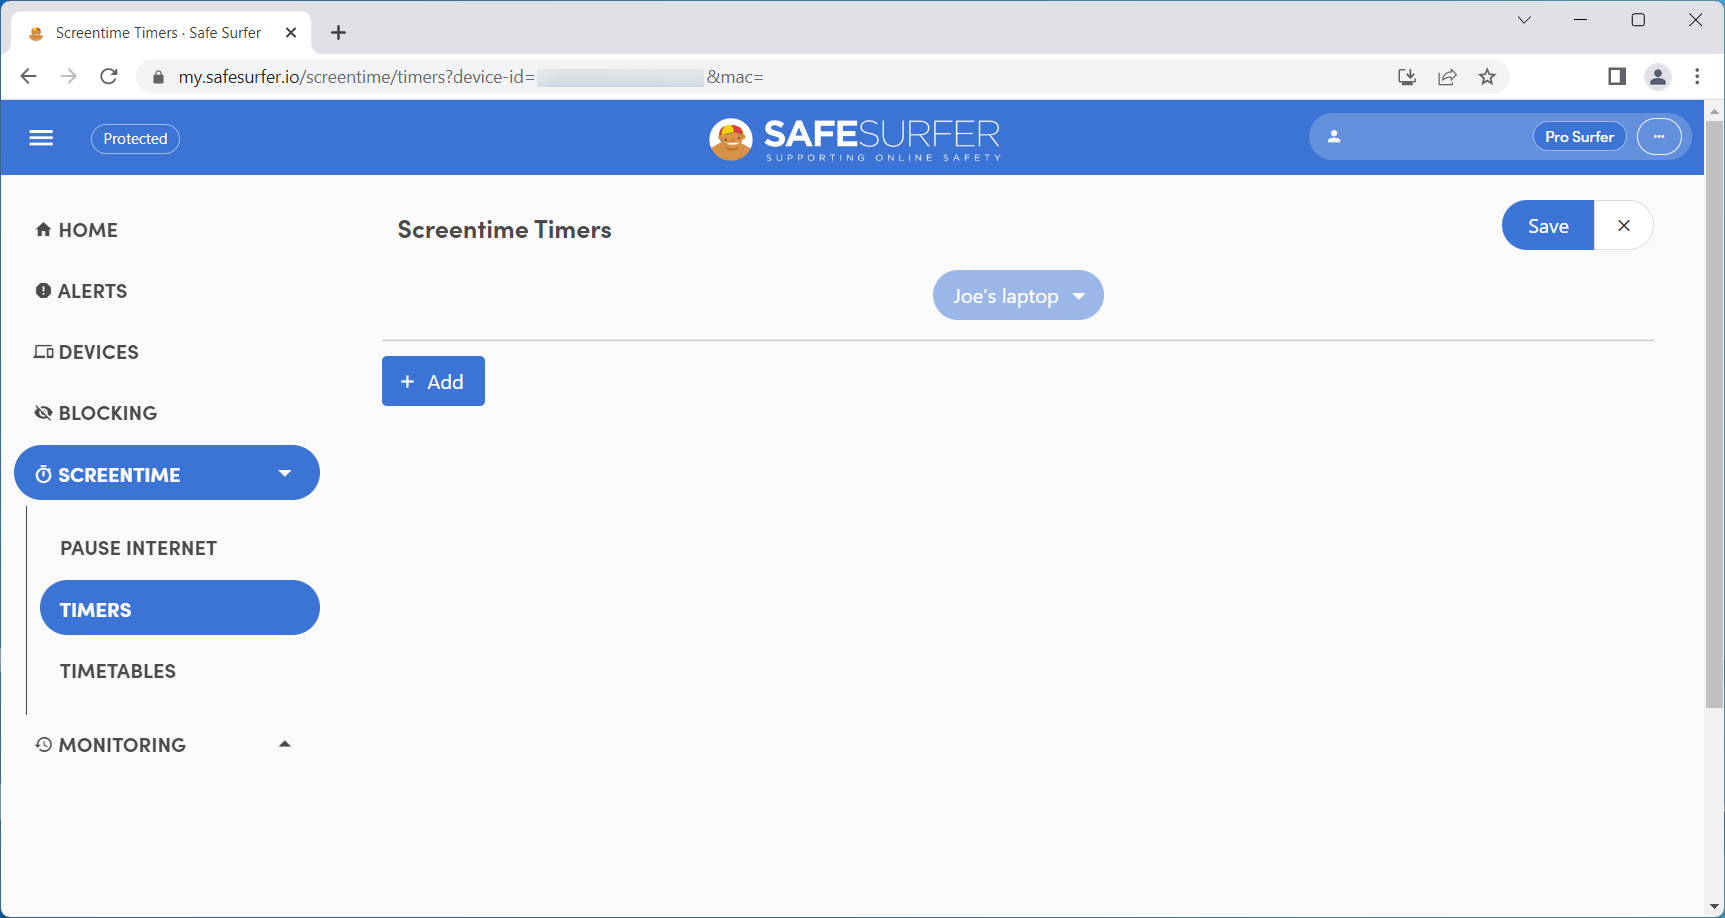
Click the “+ Add” button.
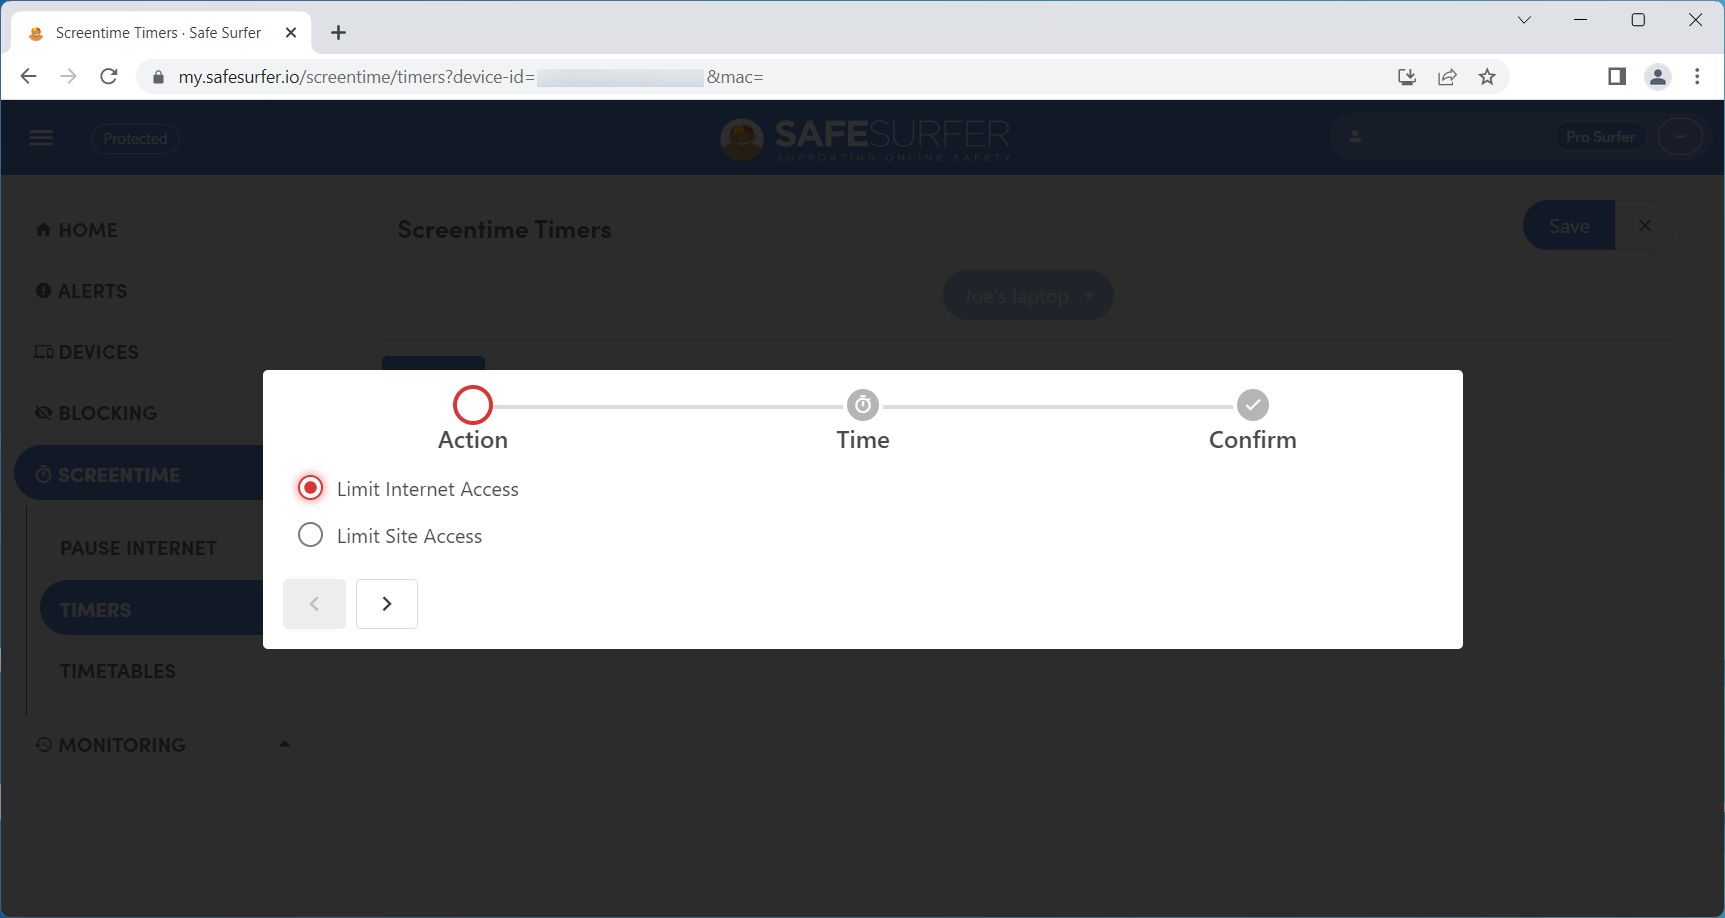
Click the “Limit internet access” option, then click the right-arrow button.
Delegate two hours on “All days”, then click the right-arrow button.
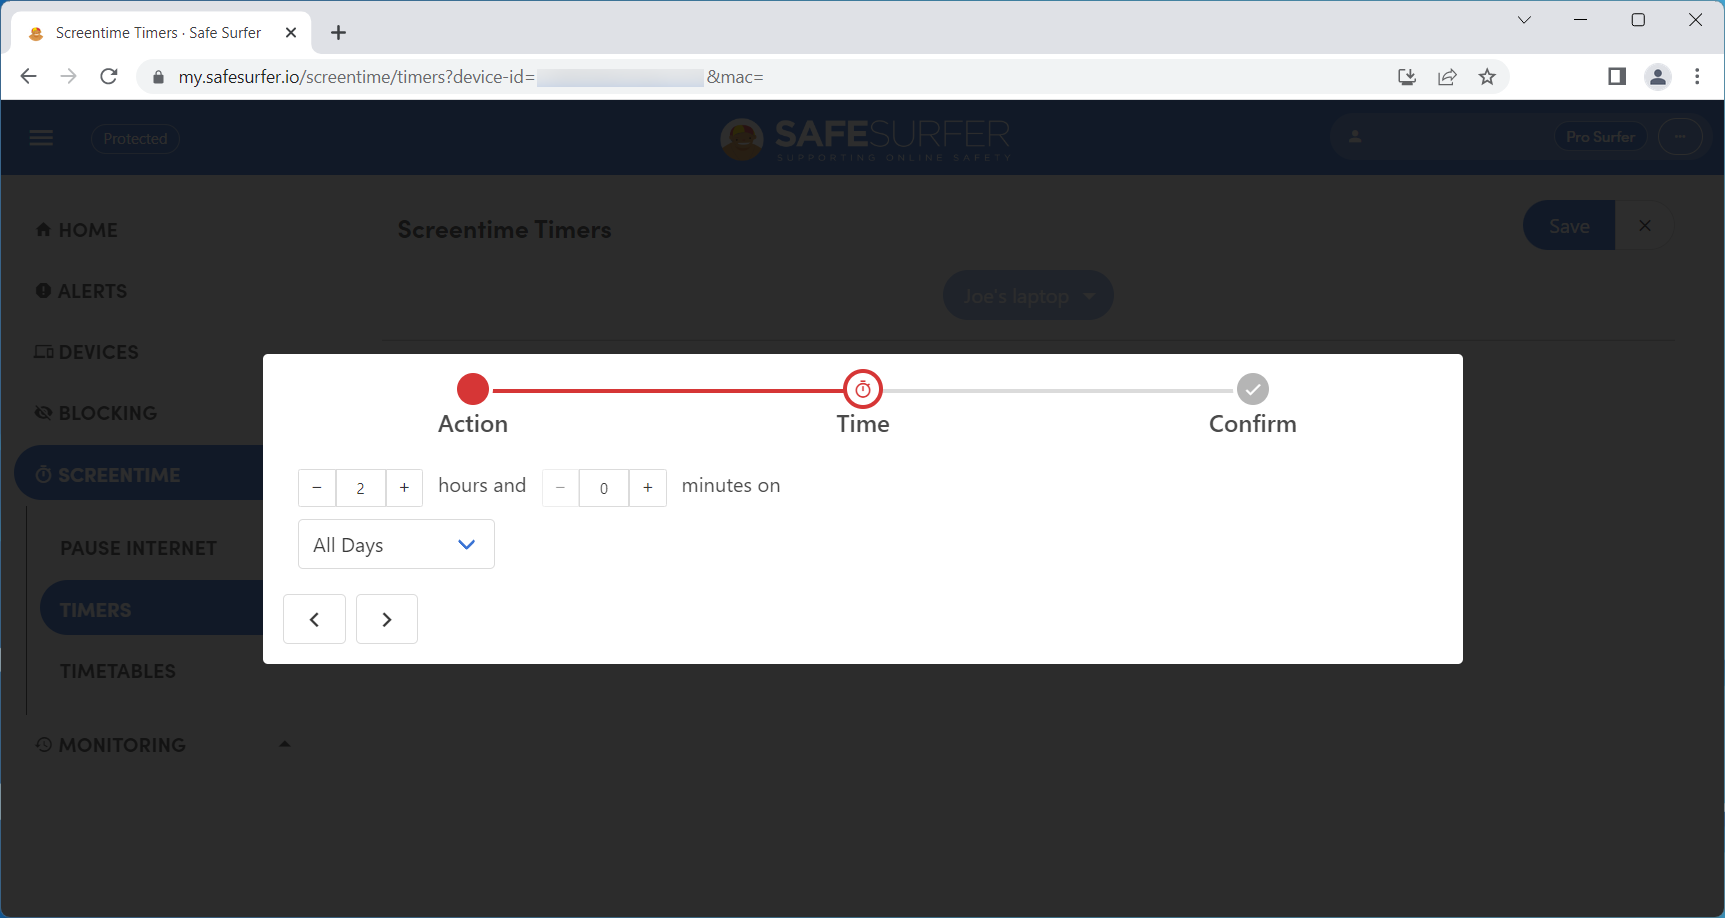
Click the Confirm button.
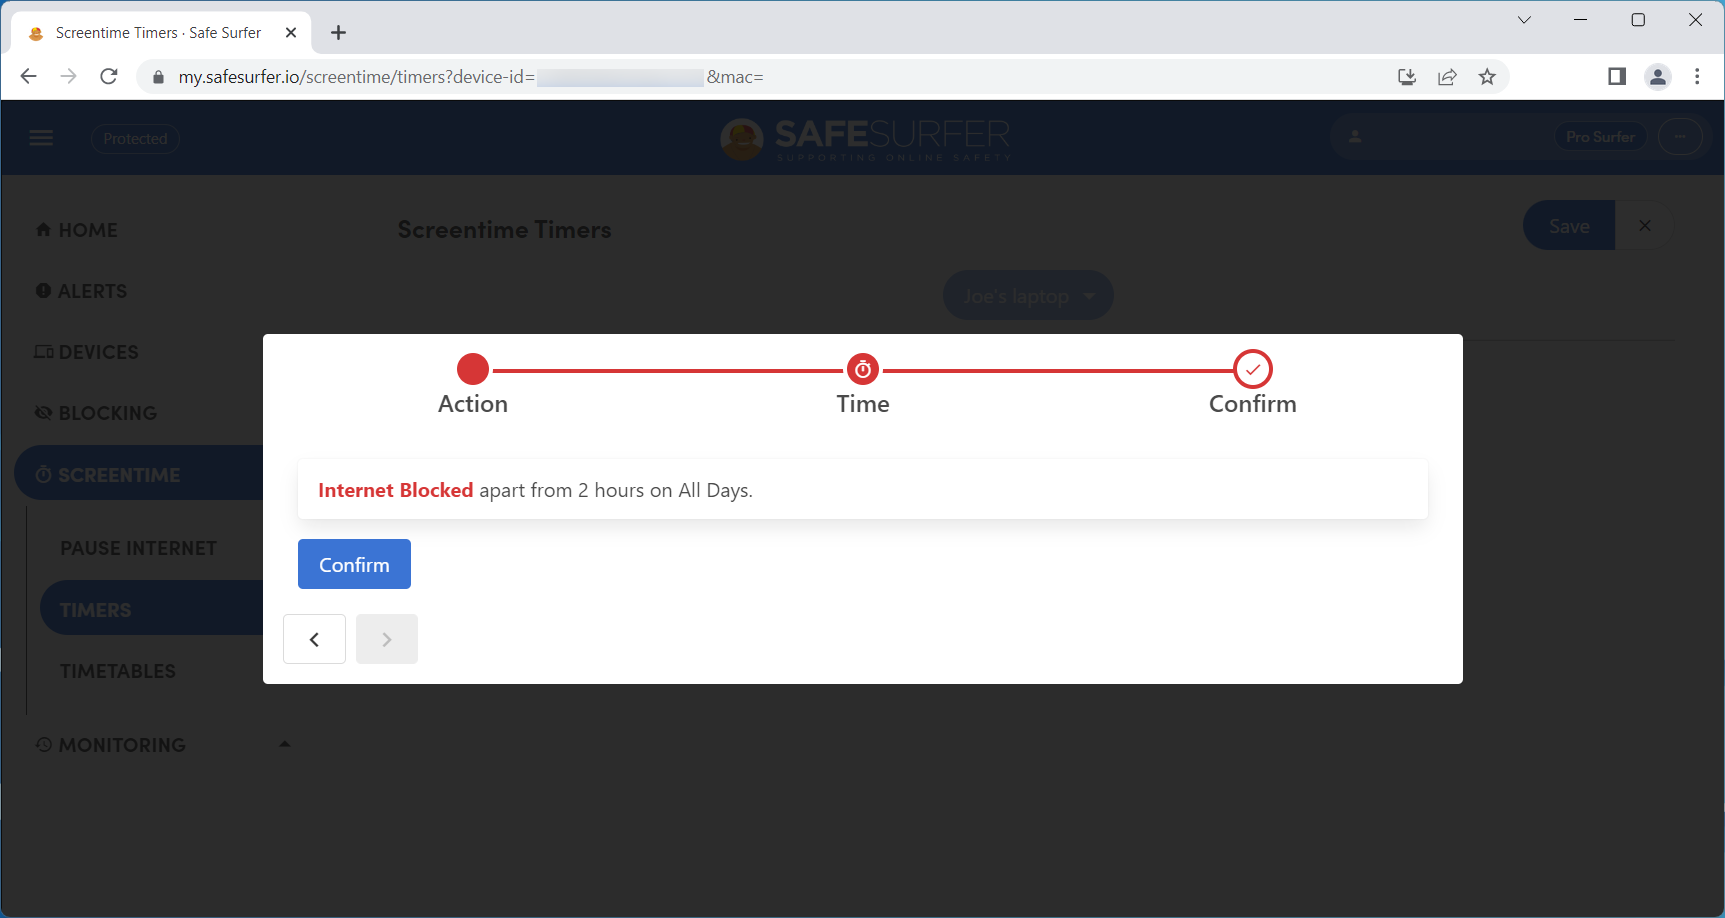
Click the Save button. We have now allocated a two hour block of internet “on” time for this device. If you’re not using a Safe Surfer Wi-Fi Lifeguard router, you should enable the self-service feature for the device in question. We will show you how to do this next.
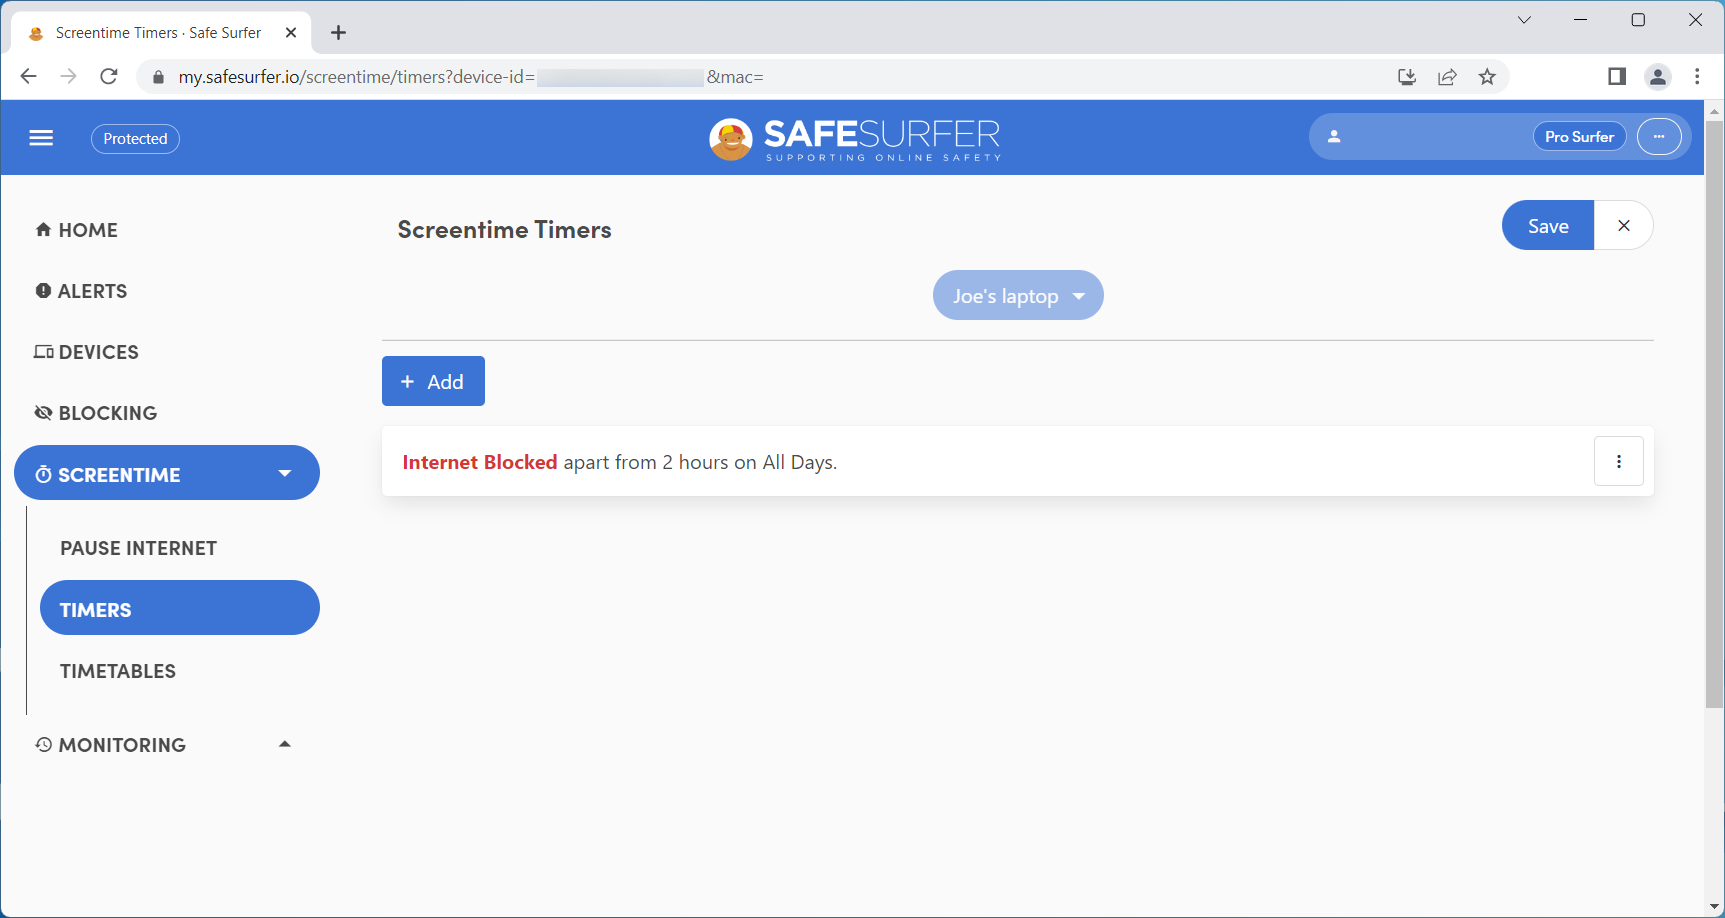
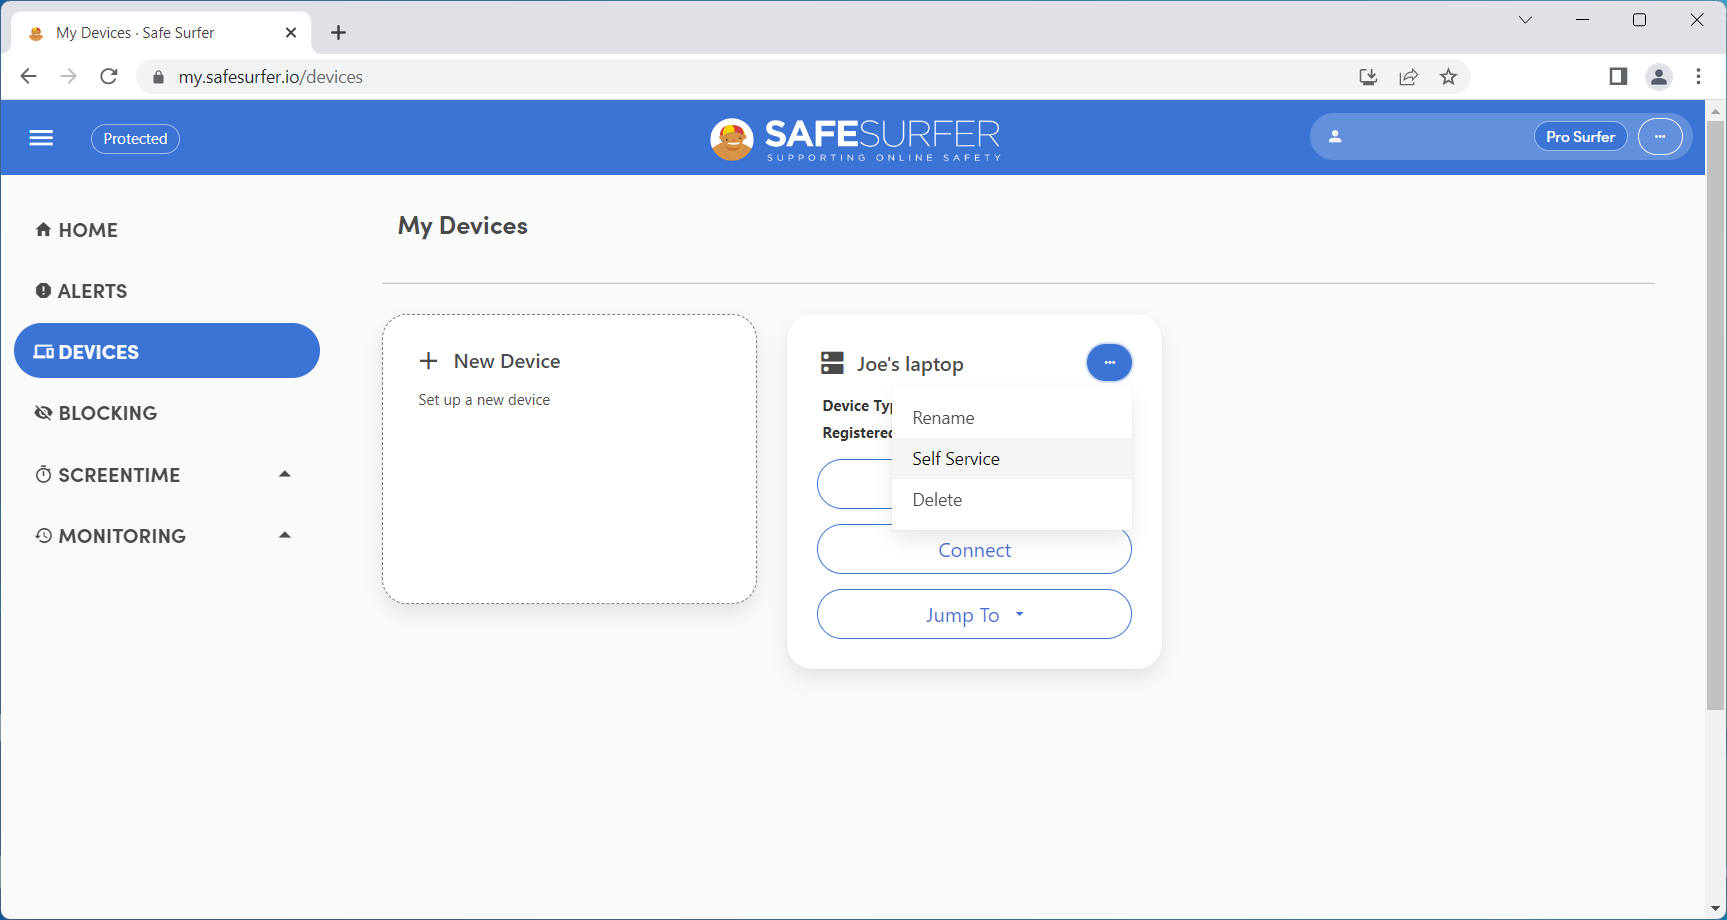
Click the Devices menu. Click the three-dot button on the applicable device listing, then click “Self-service”.
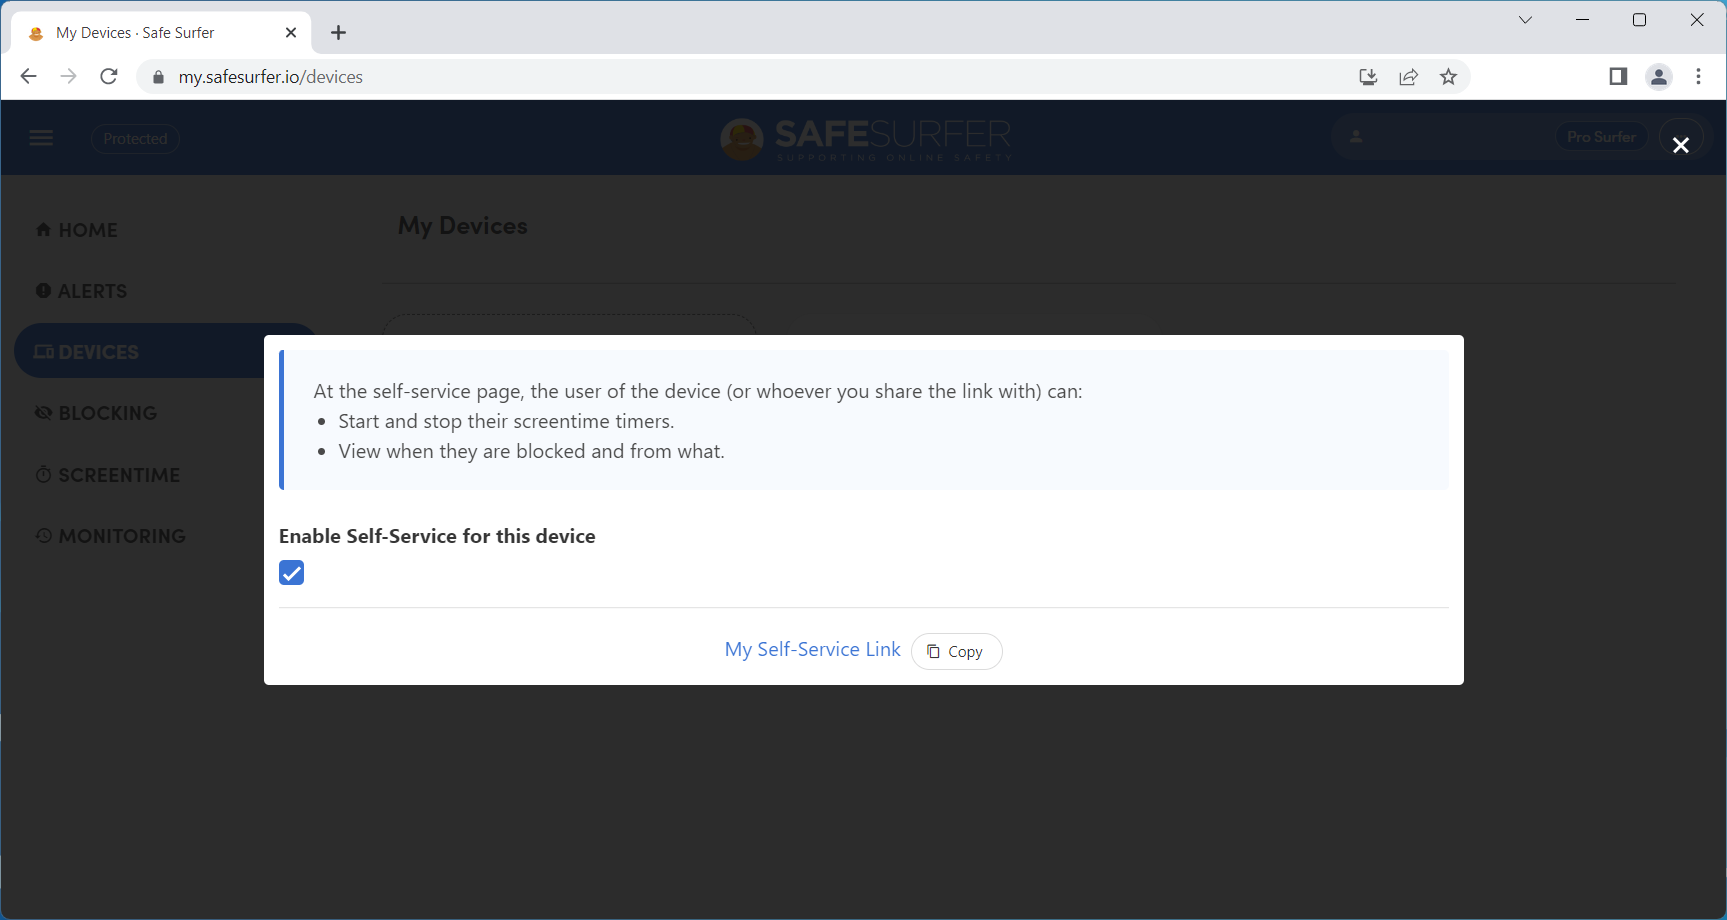
Click the “Enable self-service for this device” checkbox, the click the Copy button. You can text or email this link to the device owner.
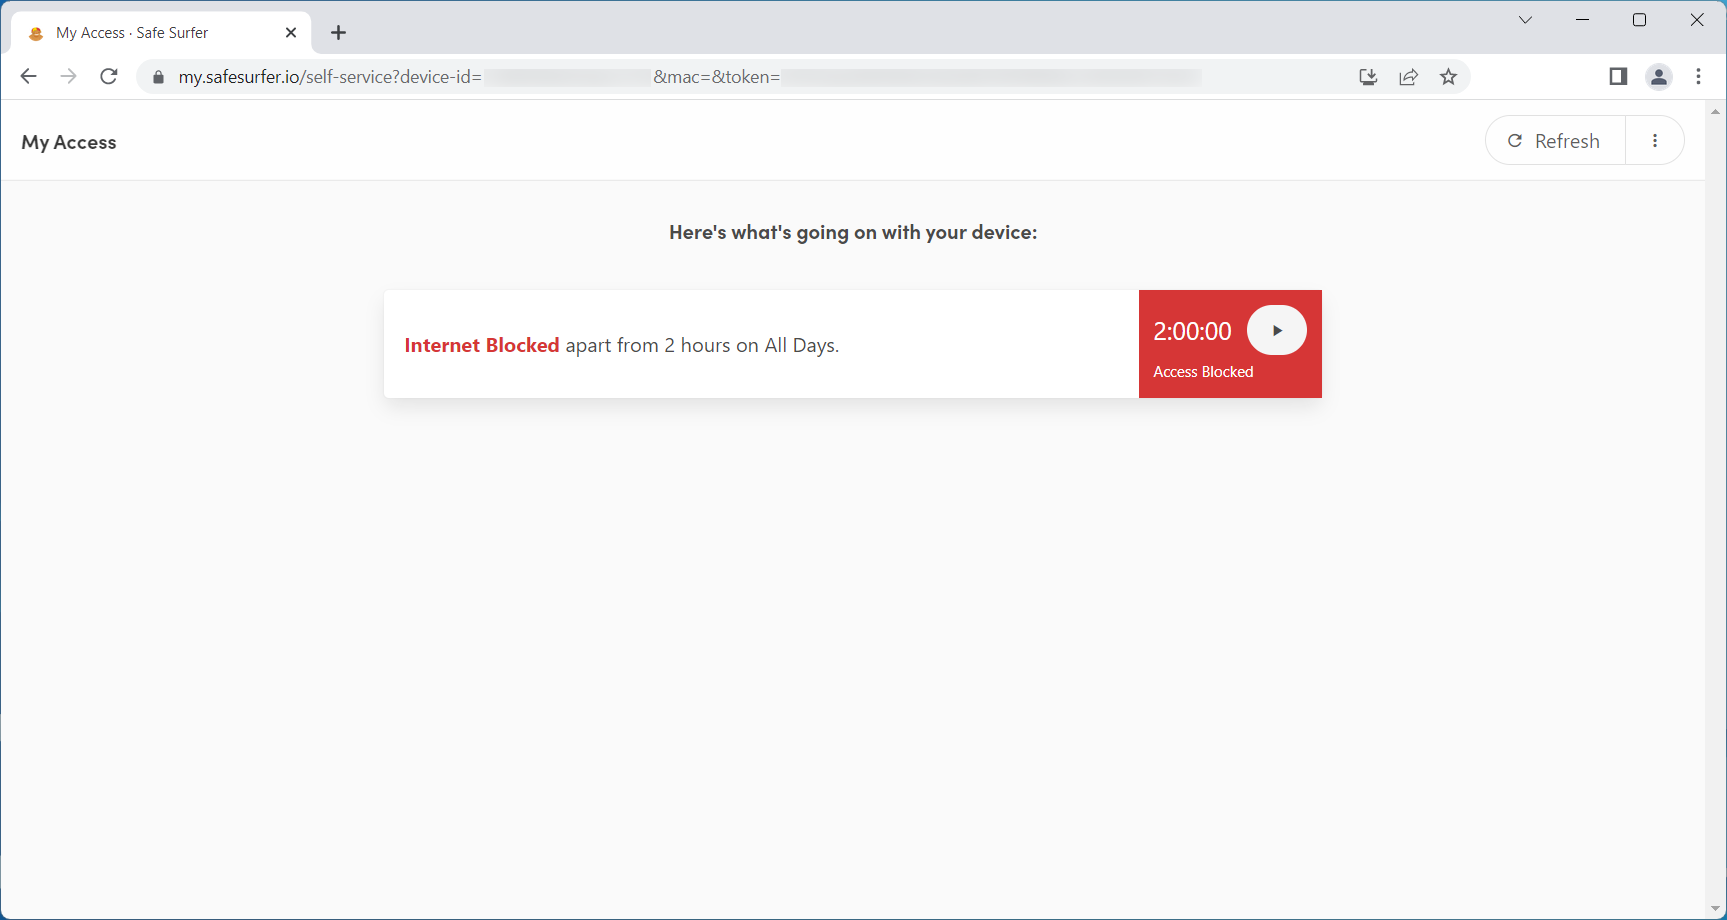
When the device owner opens the link, they will be brought to the My Access page where they can manage the timer.
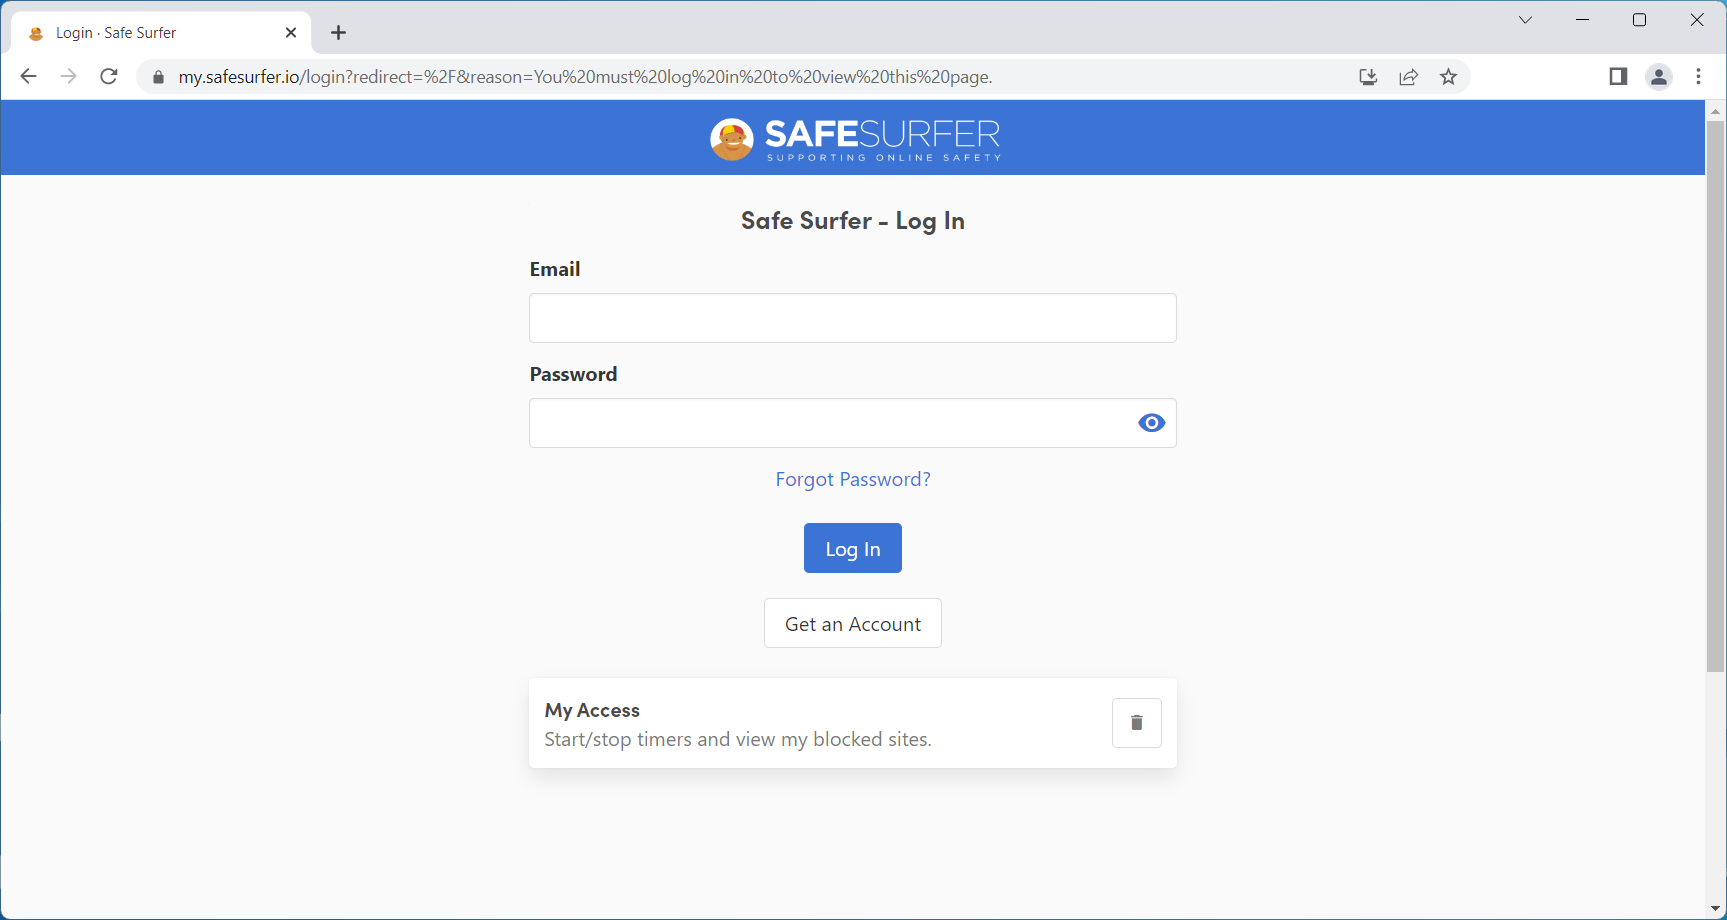
If the link has been used by the device owner on their device at least once, they can visit the Safe Surfer dashboard (without logging in) as an alternative shortcut to My Access.
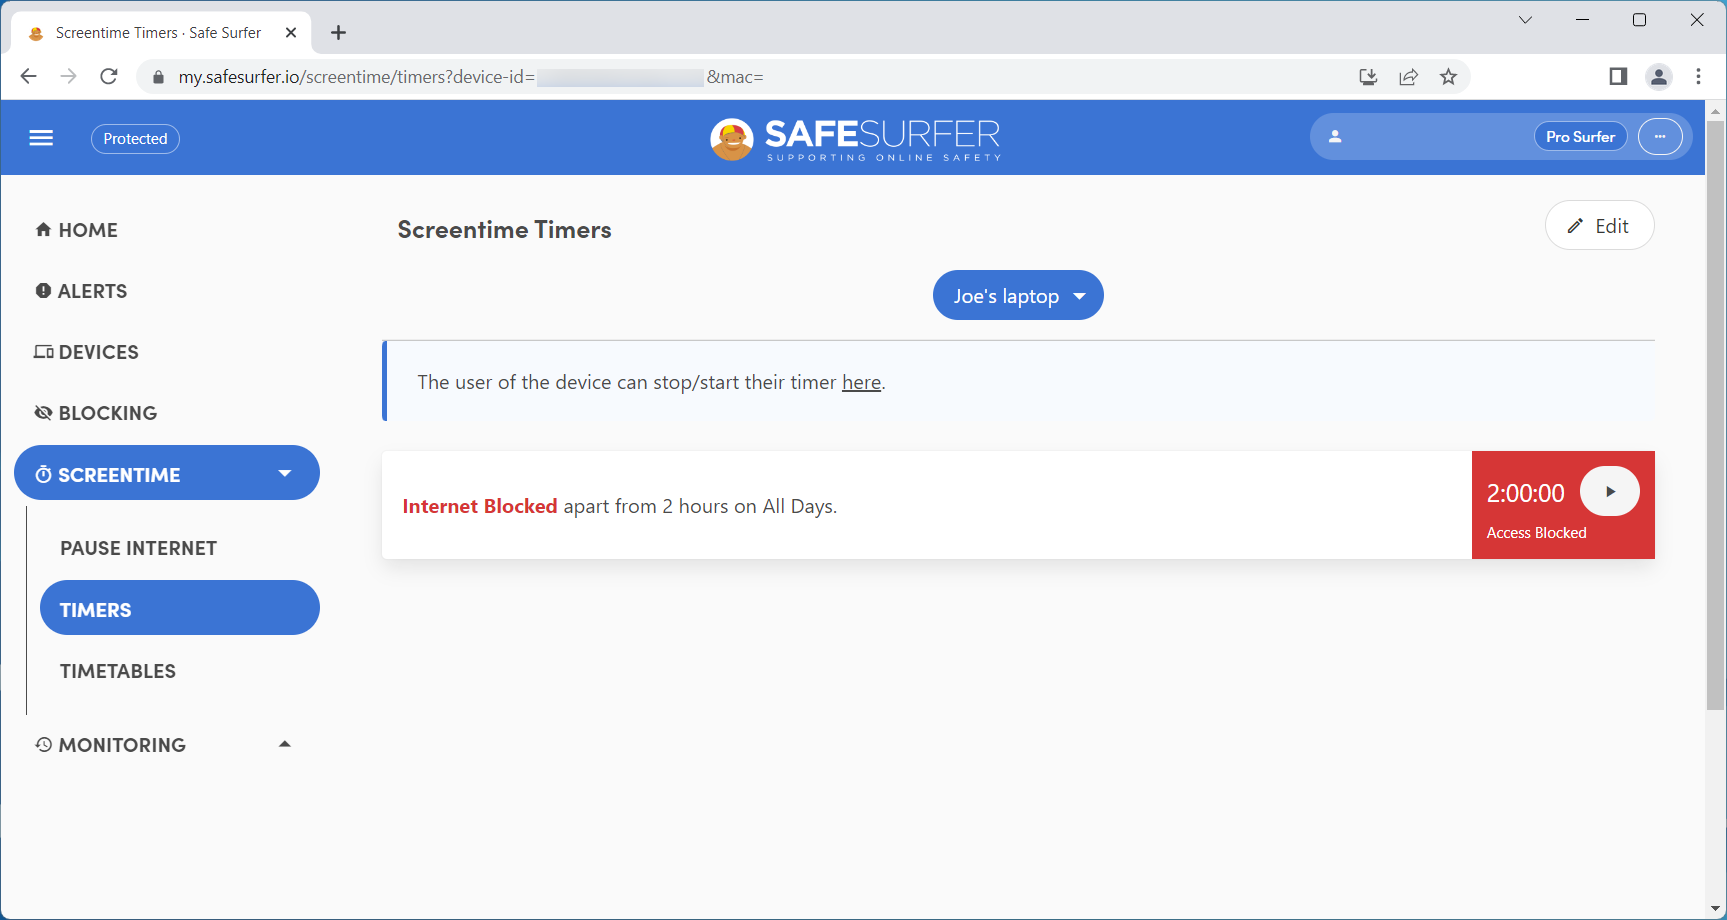
Once the self-service link has been enabled, the owner of the Safe Surfer account also has the ability to manually start and stop the timer from the Timers menu.
Setup complete
Great work! Your screen time rules should now be in operation. To start monitoring protected devices, visit our easy-to-use online dashboard.
