It’s easy with Safe Surfer to install an effective porn blocker on a Spark Smart Modem. Along with protecting your privacy, we also use our own behind-the-scenes technology to block porn and other harmful online content. This guide will efficiently walk you through how to install protection.
This guide is applicable for the following modems:
- Spark Smart Modem / Skinny Smart Modem (model VRV9517; VRV9517UWAC34-A-SP)
- Spark 5G Smart Modem (model 124753)
- Spark Smart Modem 2 / Skinny Flexi Modem (model 125415)
- Spark Smart Modem 3 (model VRV9517ZWAX34-A-SP)
If you’re not using a fibre connection, the settings we need to change won’t be available. No problem—that’s where our Wi-Fi Lifeguard router (featuring speedy Wi-Fi 6 technology) can help.
Step 1: Install DNS
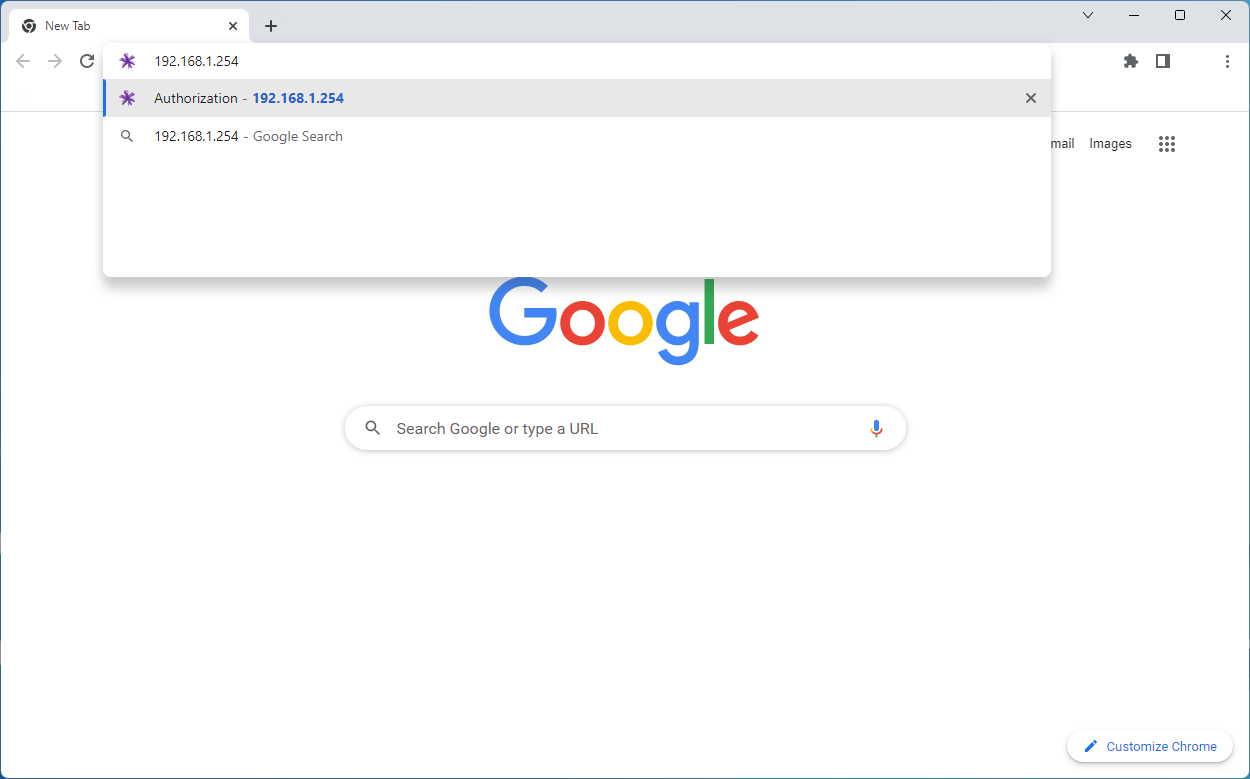
Enter the address 192.168.1.254 into the top search bar of a web browser (such as Google Chrome or Firefox).
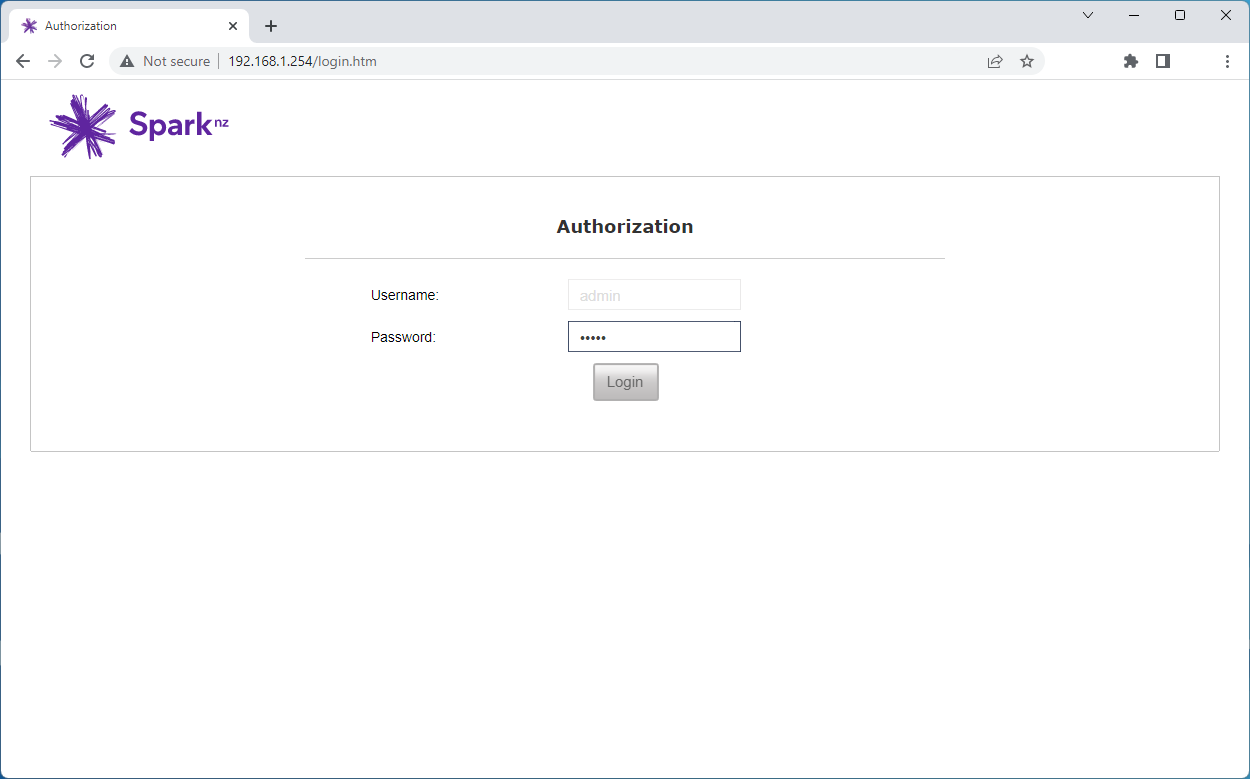
Type admin into the password box, then click the Login button.
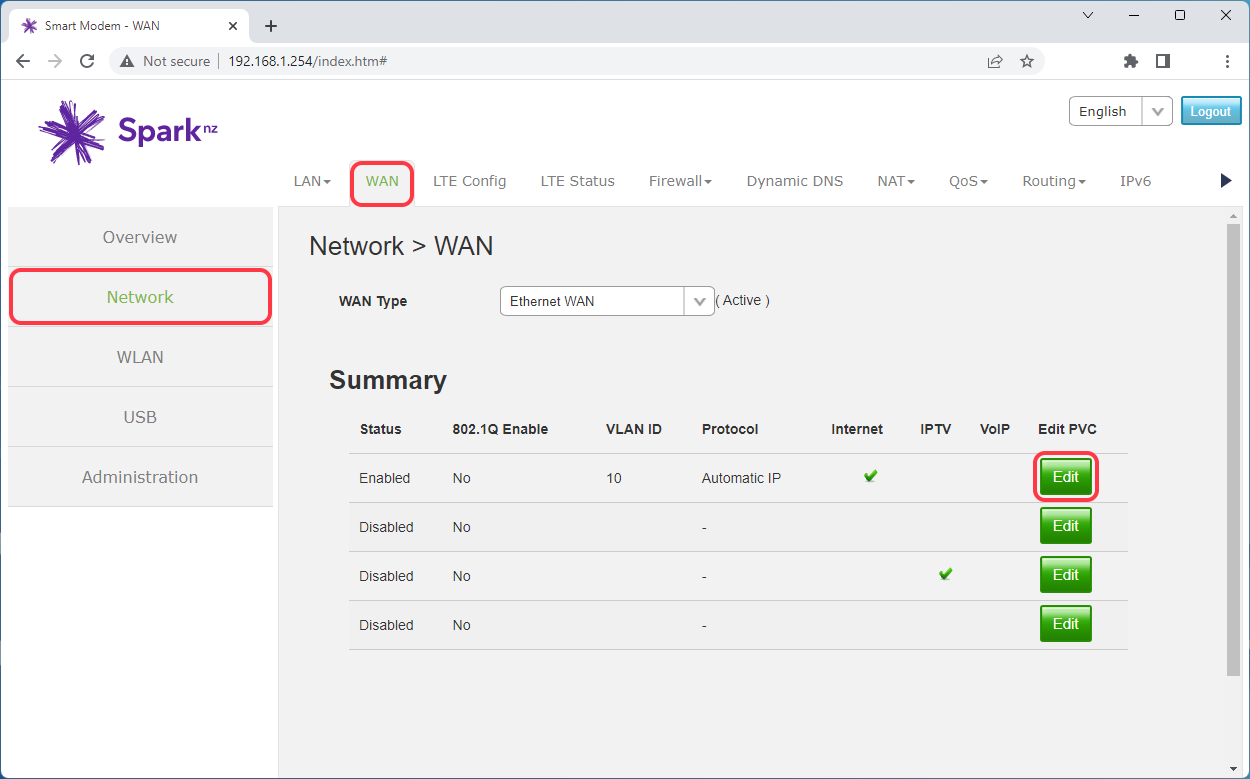
Click the Network menu found on the left-hand sidebar. Click the WAN tab, then click the Edit button found within the first row.
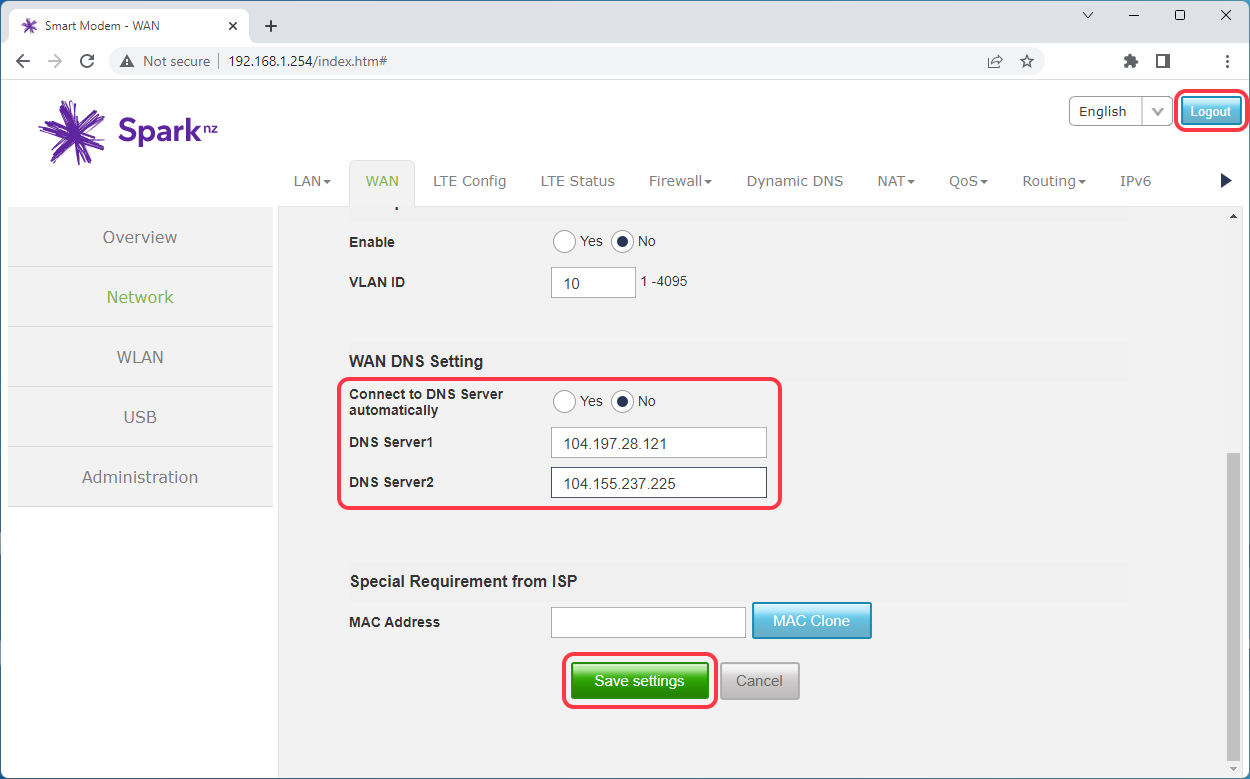
Scroll down to the WAN DNS Setting section. Click the No button found next to “Connect to DNS Server automatically”.
- For DNS Server1, copy and paste the following address into the text box: 34.116.72.241
- For DNS Server2, copy and paste the following address into the text box: 4.150.168.57
Click the “Save settings” button. Once the changes have been saved, click the Logout button found at the upper-right corner.
Verify protection
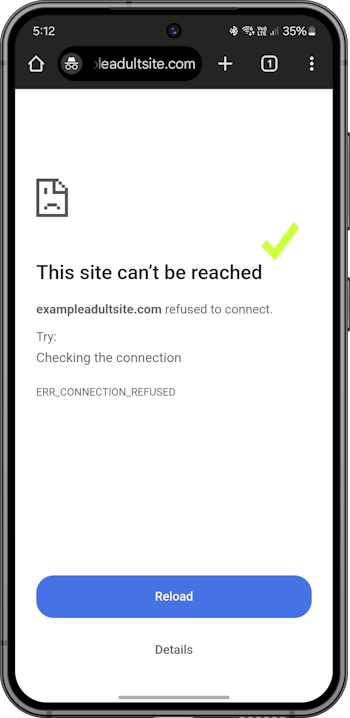
Verify the protection installation by visiting ExampleAdultSite.com inside a browser app (such as Google Chrome, Microsoft Edge, or Safari). This is a safe website designated for testing if pornographic websites are being blocked. This site should be blocked. If we’re blocking something, you’ll usually see a blank connection error page.
If you have any Apple devices (that is, iPhones, iPads, or Macs), you will also need to enable the Limit Adult Websites setting on those devices to disable the Private Browsing Mode feature for Safari. This feature ignores the Safe Surfer filtering received from your home router. You can find out how to fix this as follows:
- For each iPhone and iPad device, navigate to the Settings app > Screen Time > Content & Privacy Restrictions (and enable this feature if it’s not already turned on) > App Store, Media, Web & Games (on older devices, this menu is called Content Restrictions) > Web Content > set to Limit Adult Websites. Once you’re done, navigate back to the Screen Time main menu, which will save the changes.
- For each Mac device, navigate to the System Settings app > Screen Time > Content & Privacy (and enable this feature if it’s not already turned on) > App Store, Media, Web & Games (on older devices, this menu is called Content Restrictions) > under Web Content, set Access to Web Content to Limit Adult Websites, then click the Done button at the lower-right corner. Once you’re done, navigate back to the Screen Time main menu, which will save the changes. Open the Safari app > click the Safari text on the left-hand side of the menu bar (at the top of the screen) > click the Quit option. Repeat this process for every user account on the Mac.
Get protection apps for best parental controls experience
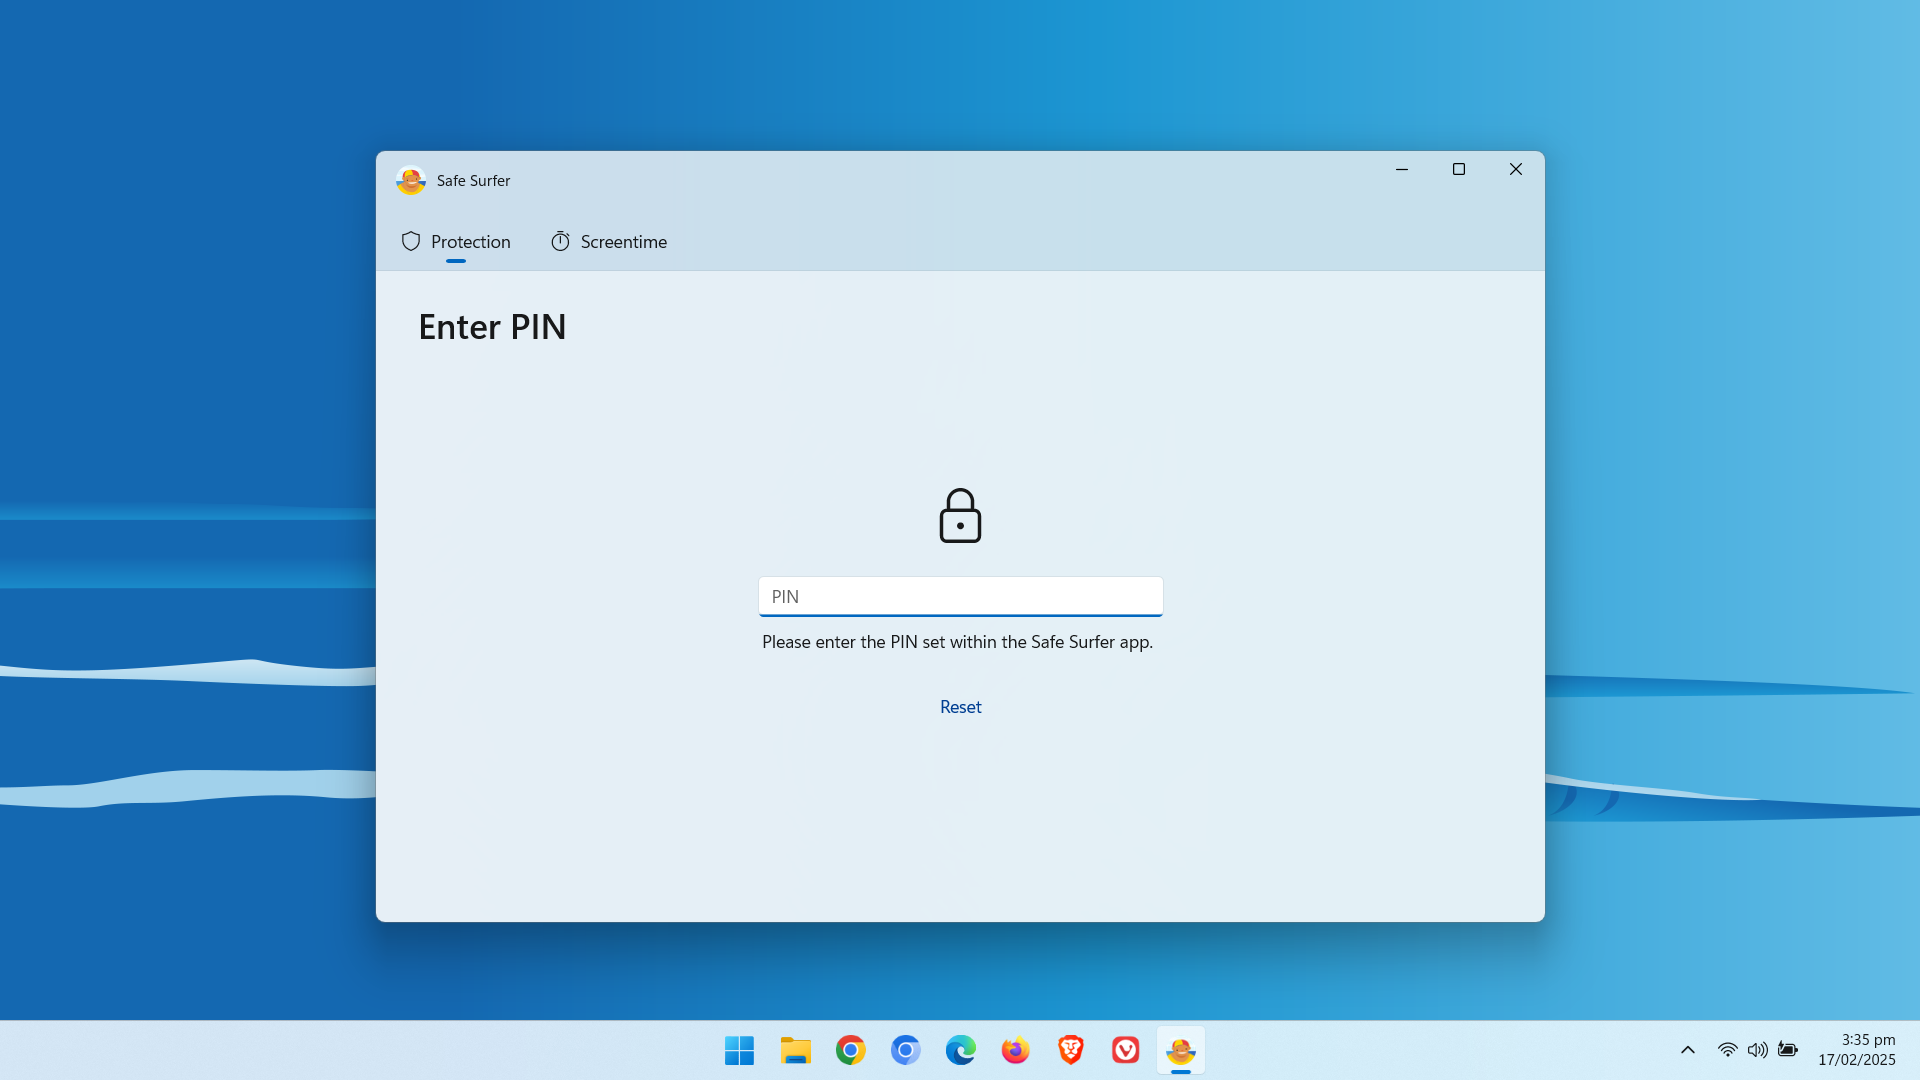
Check out our protection apps! Our custom-built apps feature our best technology. They install protection directly onto devices (Android, iPhone and iPad, Windows, Mac, and Chromebook), and are a great way to block porn and apps for devices on the go. The apps enable you to set custom block settings and monitor the online activity of your loved ones. We can also prevent protection from being uninstalled (and block filter workarounds) in various cases.
Protection complete
Great work! The devices connected to this home router should now be protected. Visit our easy-to-use online dashboard to start monitoring traffic and blocking content from our premium categories with an affordable Pro Surfer subscription.
If you would like to protect a different kind of device, visit our Guides page.
Disclaimer: Safe Surfer Limited is in no way associated with Spark New Zealand Limited.